SCELBI: to Socket or Not?

Since the SCELBI was sold as assembled, kits or bare boards, what you do about sockets is largely up to you. However based on observations of original SCELBI mini-computers, here are some suggestions to make your SCELBI more authentic.

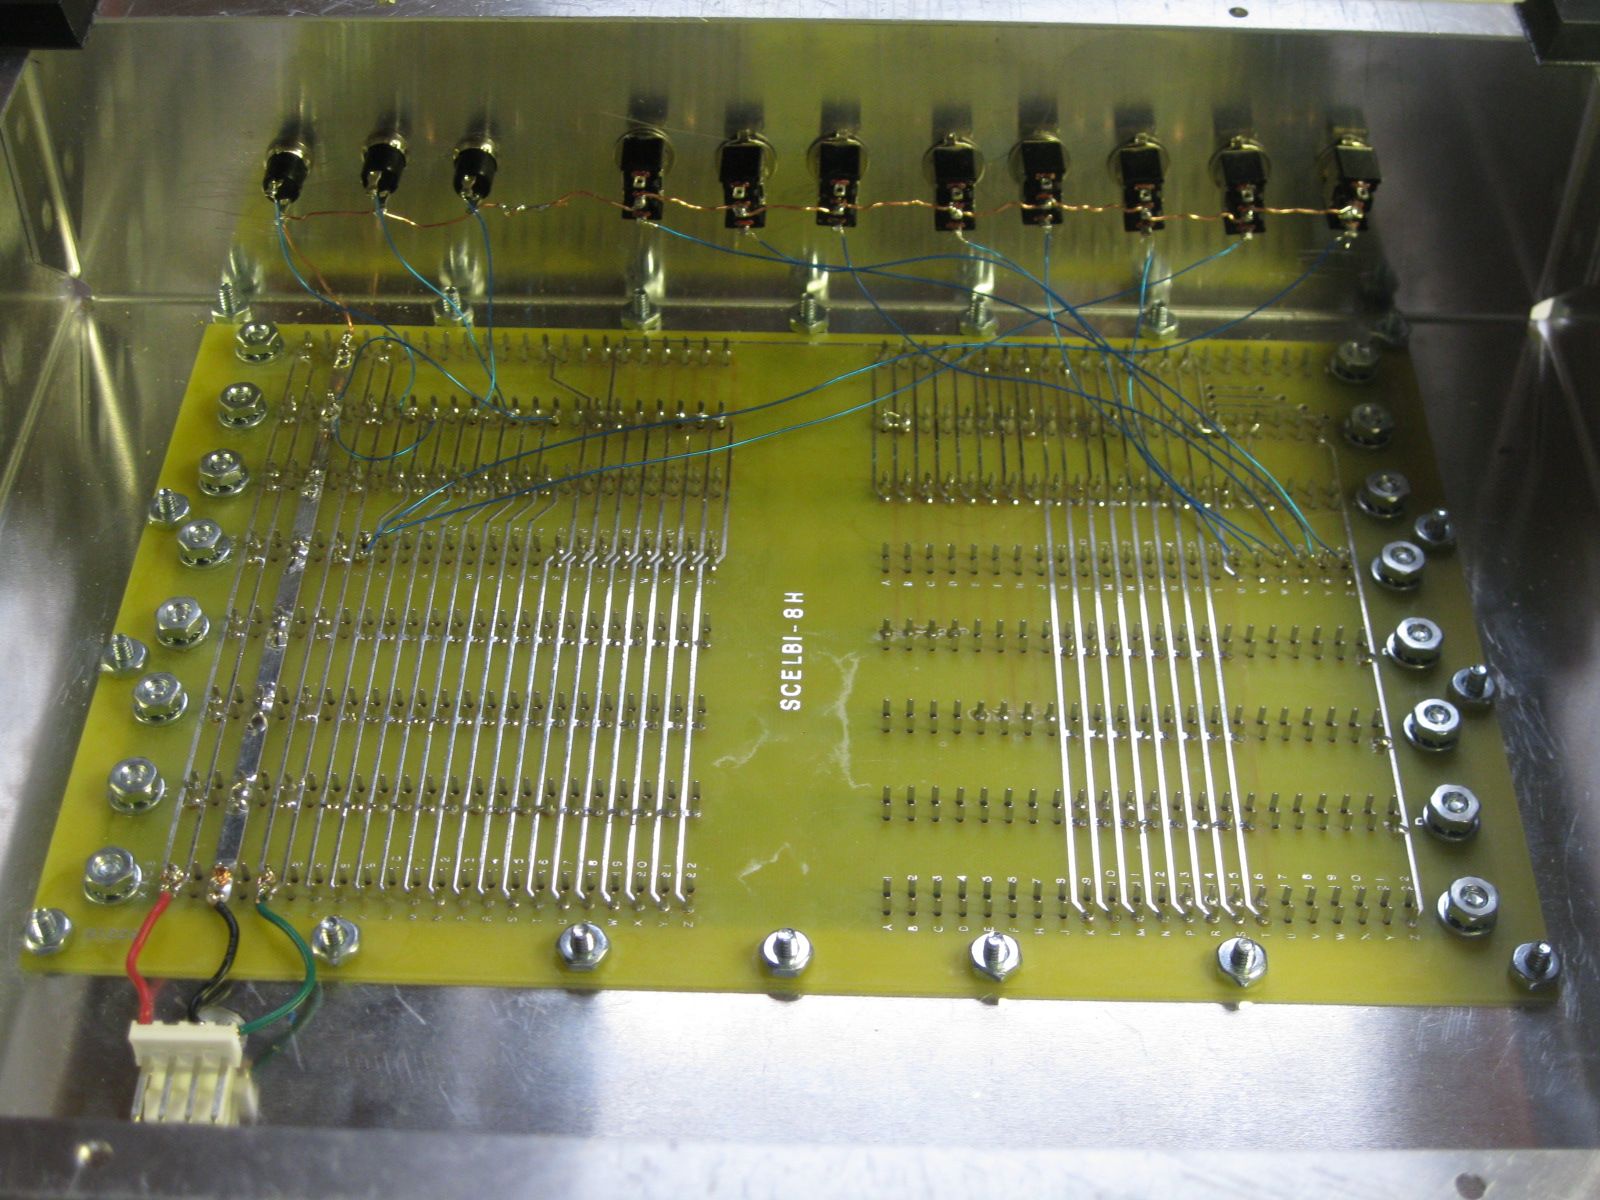
Suggestions for the Front Panel, CPU, DBB and Input Boards:
Many of the boards that I’ve seen, use the Molex strip connectors mentioned in an earlier post for all ICs on the board. SCELBI instructions only mention using these for the 8008 and soldering the rest of the chips directly to the PCB. I have seen one original system set up this way. Since the 8008 is the only rather expensive chip used on these boards, I have chosen to follow instructions and solder all parts to the PCB, except the 8008. If I need to pull a 74xx part, I’ll cut the legs off and remove the legs individually. A friend of mine managed to obtain a roll of the MOLEX pins and I installed those for the 8008. They are rather fidgety to install, and I suspect reliability might be an issue. Even if you can find enough stock to do an entire system, I wouldn’t recommend doing a whole system with those MOLEX pins. I have also seen one 8B that used regular 70s style closed frame solder tail sockets. You should be able to find a bunch of older closed frame sockets at surplus dealers, if you want to socket your boards. I haven’t seen any SCELBIs with machine pin sockets.

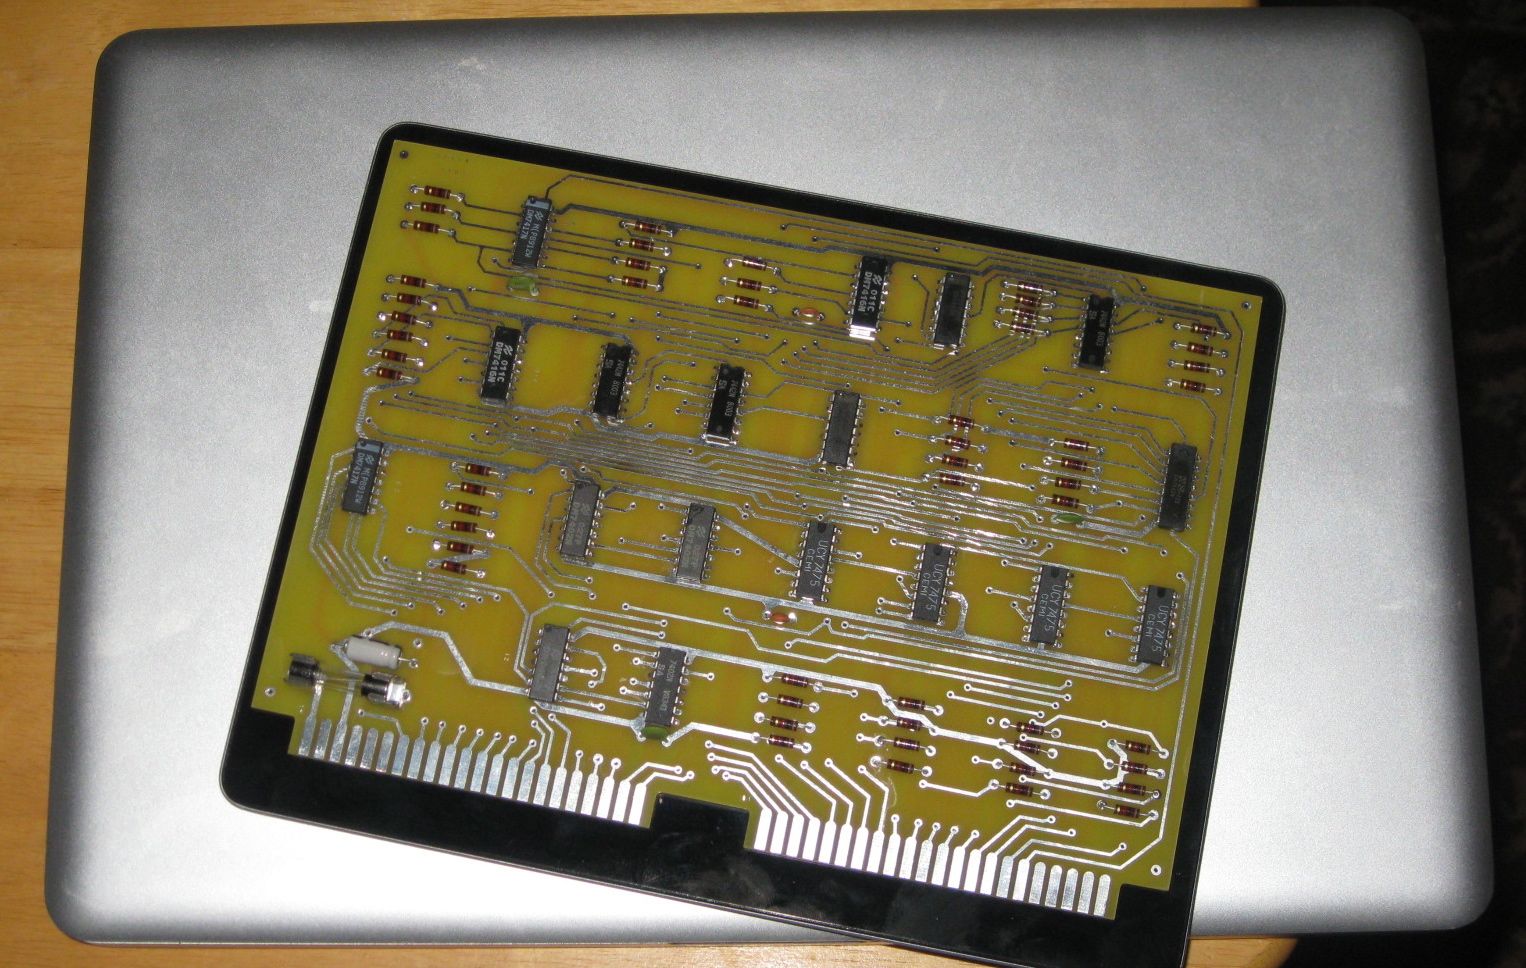
Suggestions for the Memory Cards
Though the instructions don’t call for sockets, all the memory cards I have seen, use either MOLEX strip sockets or old style closed frame sockets. Apparently memory was expensive enough and perhaps failed often enough in those days that soldering in memory was not considered wise.

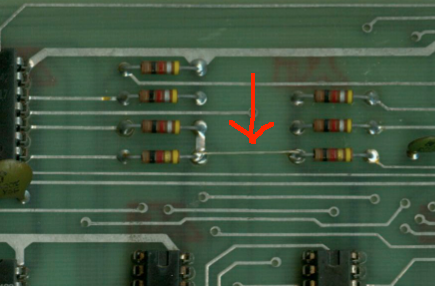
Example Closed Frame Socket Used on SCELBI Memory Board.

Closed Frame Socket

Closed Frame Socket


I believe this one is made by SCANBE. SCANBE’s were also used in arcade machines and have a terrible reliability according to arcade system restorers. I’ve seen one page that suggests replacing all SCANBE sockets before proceeding further.

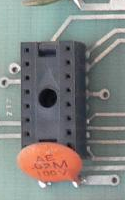
More on Molex Strip Sockets
Here is a page from an old (1973) MOLEX M-100 catalog
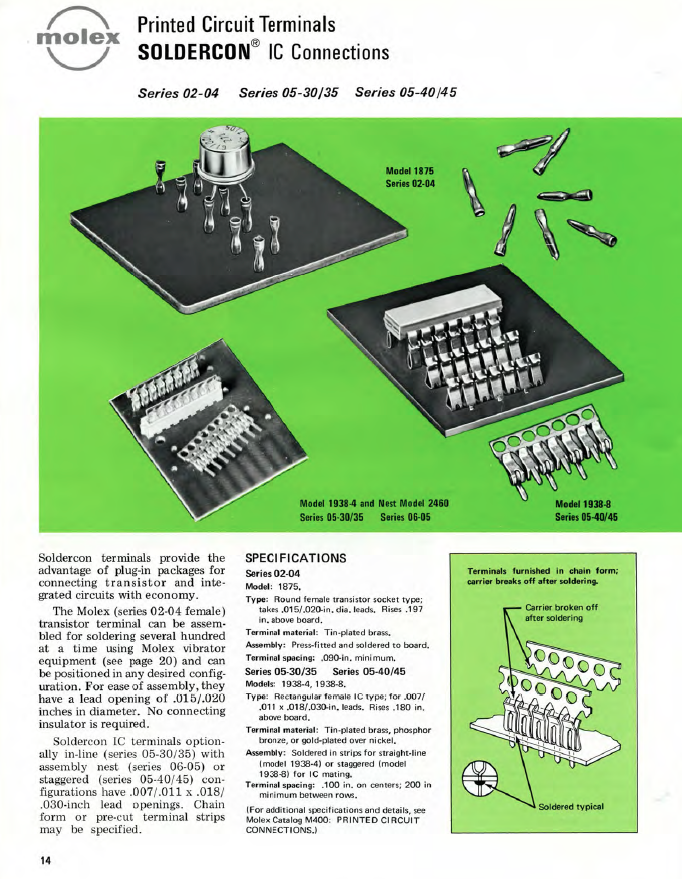
MOLEX strip sockets

MOLEX strip sockets

SCELBI Front Panel and Power Wiring

Following instructions in the manual, I wired the front panel switches. I also added a temporary jack for power, until I get something more authentic.

Front panel and power wiring inside chassis

Front panel and power wiring inside chassis

With this setup, once I complete the memory and input boards, I should be able to toggle in a tiny program. Actually I may be able to toggle some instructions directly into the CPU, even without the memory card.

The push button switches should be normally off, with one terminal connected to ground and the other to the control signal. Pull up resistors on the CPU board keep the signal high, until grounded. The toggle switches are connected in a similar fashion. Connect the center terminal to either ground or the data bus input signal and the other to the terminal such that when the switch is in the “up” position, pull up resistors on the input board keep the signal high. When the switch is in the “down” position, the signal should be connected to ground.

ranking and value of willegal.net

Every once in a while I do some general searches to see if any unusual links connect to willegal.net This time, I came up with this…

According to this site (http://webstats-ranks.com/www/willegal.net) willegal.net is worth almost $15,000. Pretty incredible.

According to the same site, ranking in traffic is 779,337. With an estimated 644,275,754 sites in 2012, it seems my site ranks in the top .12% of all web sites.

DBB Nears Completion

DBB board

DBB board

Here it is resting on top of an iPad (which is on top of a powerbook).

Only thing left to do is to install the +5 volt bus workaround jumper between resistors R37 and R38 and add the 6.3 volt zerner. For some reason the +5 volt jumper wire isn’t mentioned in the SCELBI instructions. I got a bad batch of Zerners, so I’ll have to install that later on. It draws about a 1/2 amp when applying +5 volts to this board without the rest of the system connected.

Except for the omission of the jumper, the standard SCELBI instructions seem accurate for the DBB board.

In case you didn’t remember from my previous post, here is where the +5V jumper goes.

+5 volt wire on DBB board

+5 volt wire on DBB board

6800 running on a Mimeo 1

For a while now, we have speculated about how well a 6800 would really work in an Apple 1. Well, a 6800 is running now on a Mimeo. See Lionel’s utube video for proof.

Eric Smith had previously created a 6800 Apple 1 monitor that he ran in emulation. Lionel took that monitor and went to work to make it run on real hardware. Lionel had to make two changes to make it work.

  • the 6800 7404 had to be changed to a slower 74L04 in order to make clock timing work
  • pin 39, which is not connected in a 6501, had to be pulled down to ground with a 10K resistor
  • Kudos to Lionel for making what I think is an Apple/Mimeo 1 first…