Remotoring the Mantua General
Part 1 - mounting the motor
Background
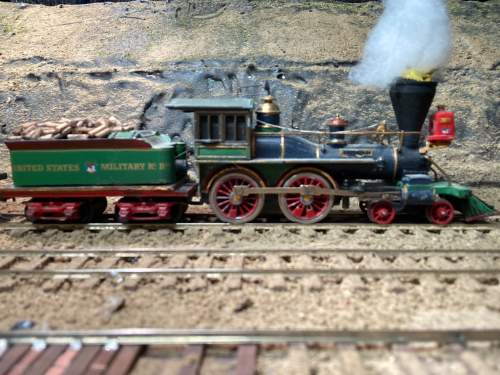
One of the better locomotive
options for your HO scale Civil War model railroad is a
Mantua/Tyco General. These locomotives come with open frame motors
that are not the best performers. I have found a 12 volt
PC-130 DC motor is a very usable replacement. I use DCC on my
layout and I plan on putting sound under my layout rather in the
engines/tenders. I drive the motor with a Digitrax 1 AMP Z scale
decoder (DZ123). My remotored locomotives run smoother than with
the original motor though top speed may be a bit lower. This is
not a concern to me because my layout largely consists of a yard in
which locomotives would be operating at reduced speeds.
This remotoring is inspired by the remotoring part of Al Mueller's Mantua General Rebuild document, but there are several differences in execution, which I believe make this version a bit easier to implement.
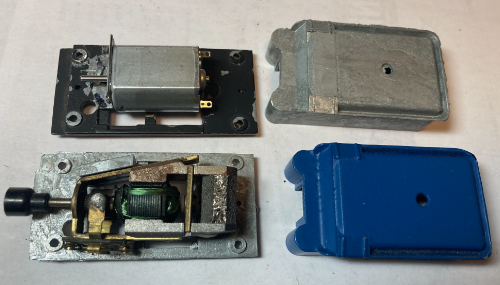
The tender frame contains a mount for the original open frame motor.
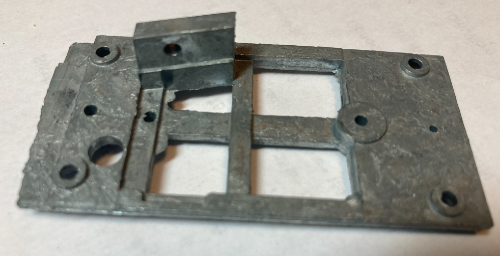
In order to fit the new can motor properly so the drive shaft is located
at the same place as the original open frame motor, the old mount must
be removed and the cross brace must be milled down. I use dremel
cut off disks and various small drills and files to remove parts of the
casting.
Note that the modified frame has the mounting bracket for the old motor
removed and the cross support has been milled down so it is even with
the fore and aft support.
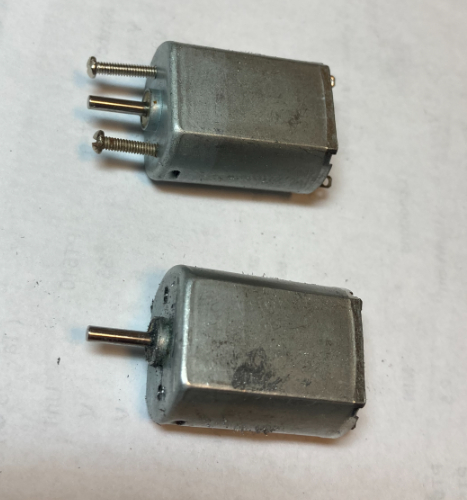
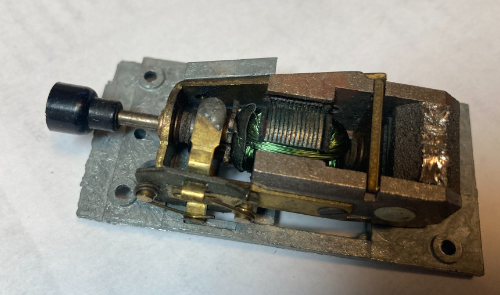
The PC-130 motors can be mounted with 2mm machine screws, though these screw will need to be shortened.
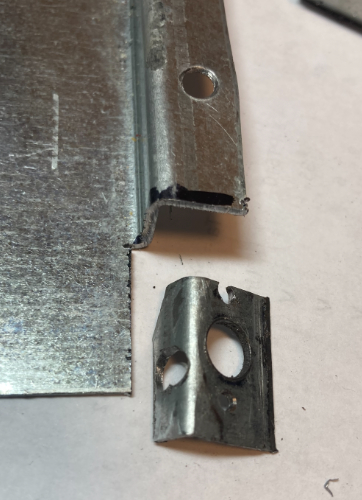
The mount is fabricated from a scrap piece of sheet metal. It
contains three holes on the upright side, two for the mounting screws
and a center hole for a drive shaft. The base contains a single
hole for a 6-32 mounting screw.
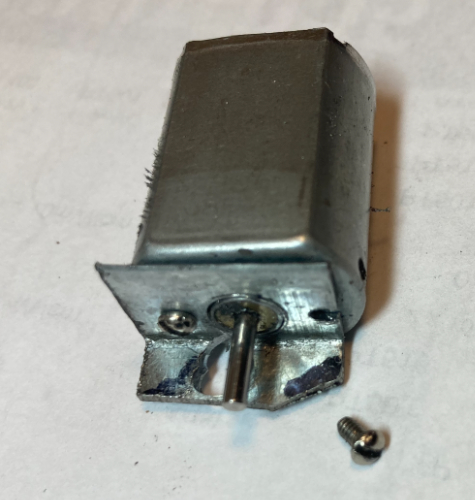
This image shows the motor partly attached to the mounting bracket and a shortened 2mm screw.
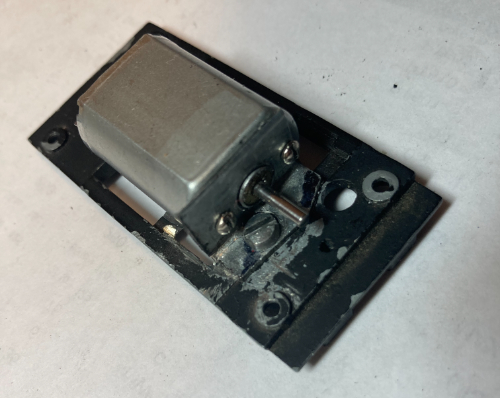
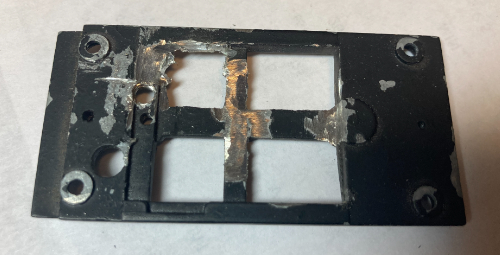
The bracket is attached to the frame with a 6-32 screw. The frame
must be carefully drilled and tapped. The position of the hole
must be carefully selected so that the screw does not interfere with the
truck or body of the tender.
The shorter PC-130 motor leaves room for a small DCC decoder.
Part 2 shows what it takes to connect a drive shaft from the tender to the engine.
Back to Mike's
Hobby Home Page