Reroofing Bachmann Old-Time Passenger Cars
The Bachmann Old-Time passenger car is supposed to represent a
1860-1880 era car. However most Civil War passenger cars did not
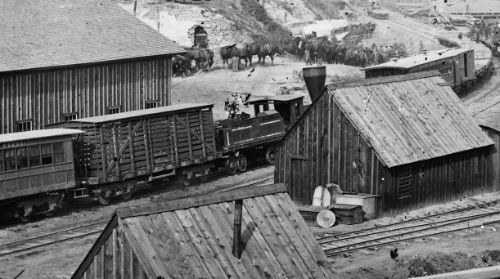
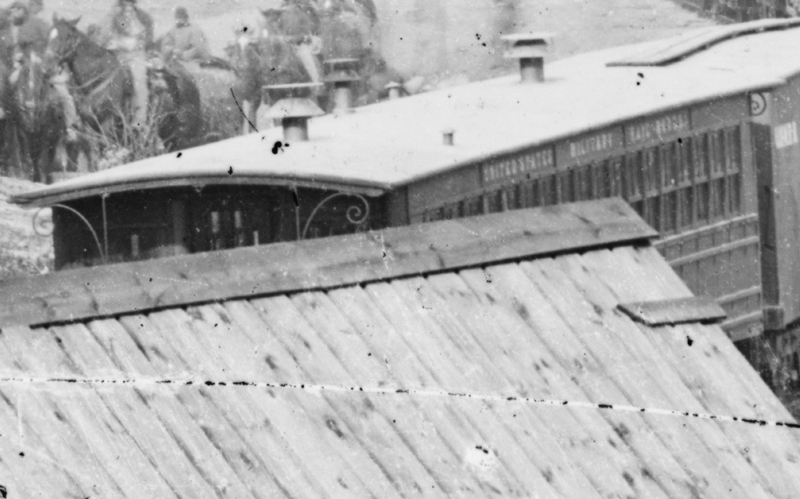
have clerestory roofs. Below is the picture that shows two
passenger cars at City Point. There are similar images of these
kind of cars at Alexandria.
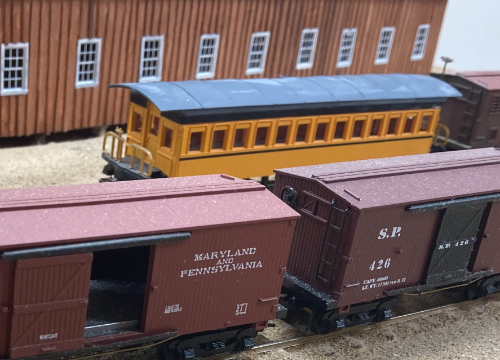
Below is a photo of a Bachmann passenger car on my layout before
modification. I think this roof really makes them look out of
place.
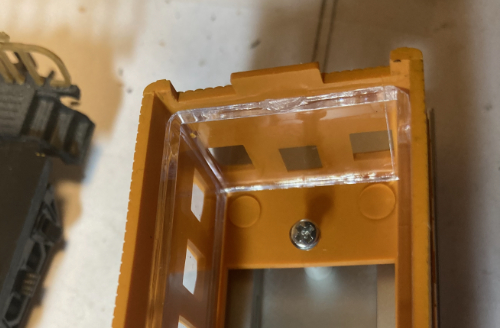
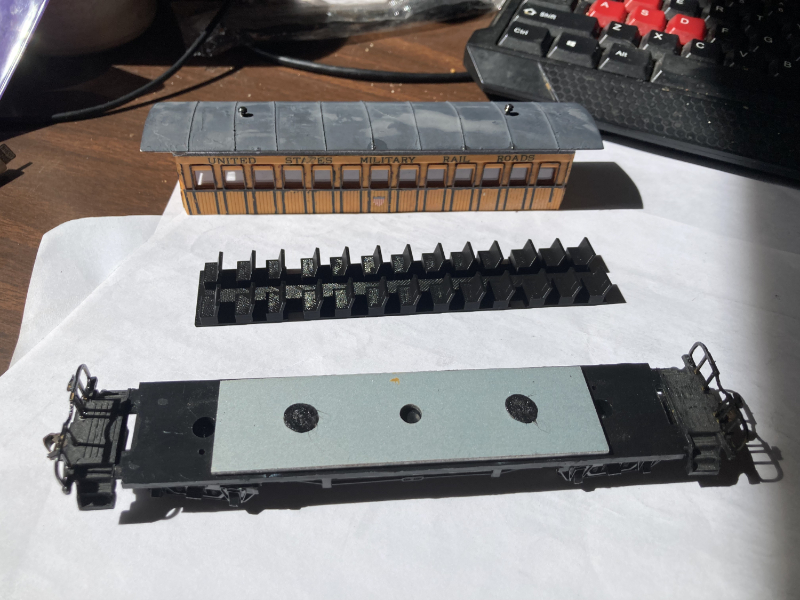
The Bachmann cars are easily disassembled. Tabs on each end of the
car hold the body to the undercarriage. Small screws hold the body to
the roof.
To "flatten" the roofs I used a dremel tool to cut off the clerestory portion of the roof.
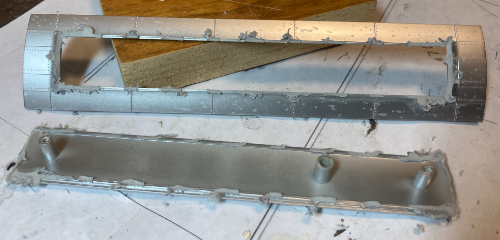
I smoothed the edges of the resulting hole in the roof. I
trimmed back the removed clerestory portion so it would fit in the
resulting hole. When the fit was good, it is glued into place.
The roof is sanded smooth and any gaps or depressions are filled with
modelling putty. Do not bother attempting to save the rivet
features that were modeled in the original roof.
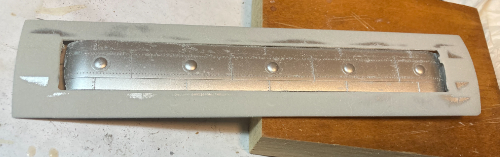
Thread is used to simulate the seams between the metal panels that made up the roofs of that era passenger cars.
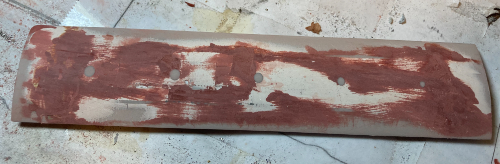
After adding the seams, the roof is painted. It's not clear to me
what color the original roof would have been painted, but I'm guessing
that due to the smoke of the locomotive falling on them, that they would
be a flat color of some sort. For now, I'm using an automotive
primer for the remodeled roof. The mounting pegs and screws that
hold the roof to the body will need to be shortened before reassembly.
I still need to either make or find sources for appropriate roof vents,
but I think this change greatly enhances the look of my passenger cars.
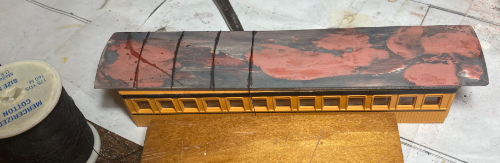
Interior, Decoration and Details
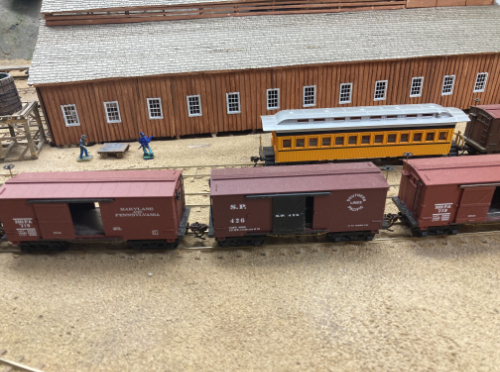
After creating the new roof, I painted and added decals to the car
body in order to replicate the passenger cars seen in images of City
Point.
Those pictures show two vents emanating from the roof of each end of
the cars. I believe that these were vents for lanterns suspended
at each end of the car to provide lighting during nighttime. The
vents were bashed together from a set of 6 pieces "straight vent w/Cap"
from Motrak Models. The decals are from Microscale.
I modeled the new interior in a program called Blender and printed on Bambu Labs A1.
A blend design file can be downloaded: passengercarinterior6.blend
A .stl file that can be used for printing can be downloaded: passengercarinterior5.stl
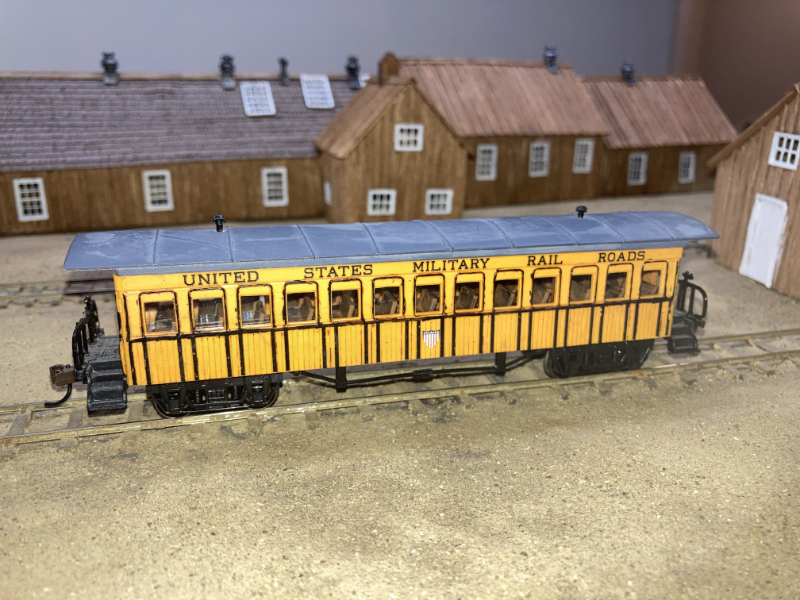
Decorated passenger car decorated with a custom printed interior, paint, USMRR decals, vents.
Back to Mike's
Hobby Home Page