About the 8008
The 8008 is widely known as one of the first single chip
processors. The first computer systems that were affordable
enough to be purchased by an individual hobbyist were built around
it.
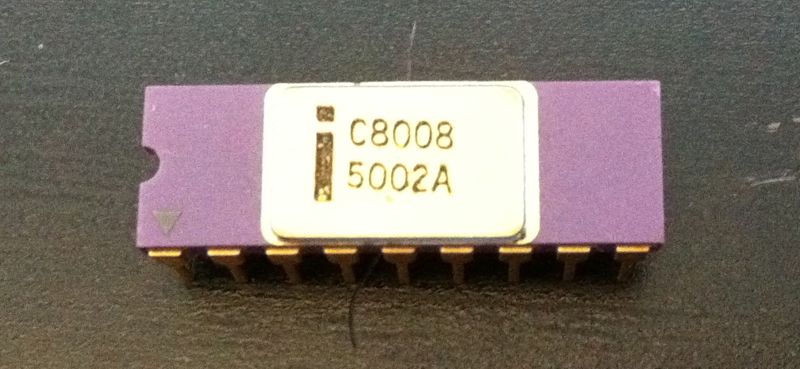
the image of the 8008 is
curtesy of Cameron Cooper
Features
The feature set included:
- a small .300 inch wide 18 pin package
- an 8 bit multiplexed data/address bus
- 48 instructions
- up to 16K directly addressable memory locations
- direct addressing of up to 8 input and 8 output ports
- 8 deep subroutine call stack
- 7 - 8 bit registers (‘A’ccumulator, B, C, D, E, ‘H’igh memory
address, ‘L’ow memory address)
- 500 KHZ clock speed
- 8 to 22 clock cycles per instruction (assuming no wait states)
- 16 usec to 44 usec per instruction (typical memory to register
add = 32 usec)
Package
An interesting feature of the 8008 is the small 18 pin
package.
This was achieved by multiplexing an 8 bit bus with both address and
data. To access memory, the 14 bit address must be
written
6 and 8 bits at a time using two clocks cycles each followed
by a
read or write of data using two more clock cycles.
External
latches must hold the address until the data read or write state.
Instruction Set
The instruction set is fairly complete, but there are some
limitations.
The stack is only 8 levels deep, with the current
level being used as the program counter. The current value of
the
program counter stack is pushed with a CALL instruction and popped
off
the stack with the return instruction. This limits subroutine
nesting to 7 levels deep.
There is no stack available for temporarily
storing of registers.
The only memory access mechanism for data, is
indirect through the H and L registers. Subroutine calls that
need to access memory must have available at least 3 registers - 1
for
the operand, and 2 more to save either the H and L registers
themselves, or two other registers that must be available to save
the
current contents of the H and L registers.
The ALU includes zero, carry, sign, parity flags,
but does not include an overflow flag.
Performance
Running a typical instruction mix, the 500 KHZ
processor executes
instructions about 10 times slower than the later 1MHZ 6502 used in
the
Apple ][.
To verify this, I have done
some performance measurements using SCELBAL in my emulator (see
below for details about my 8008 emulator). The 8008
running a typical BASIC program, such as 99 bottles of beer on the
wall,
executes around 32,000 instructions per second. That is .032
MIPS,
for those of you that measure processor performance that way.
The
6502
is said to execute roughly 300,000 instructions per second.
However
that is not the whole story, as instruction set influences
performance
of real world programs in a significant way. For example, a
single memory access on the 8008 will require 3 instructions if the
H
and L registers are not set up in
advance. The 6502 can access any memory location in the entire
64K
address range with a single instruction, without any need for
setting
up registers in advance.
A Note on I/O Port Addressing
Input and output Instructions. The difference in instruction
coding is only bits 4 and 5 which are zero for input and non-zero for
output.
| Octal | Opcode | Instruction
|
Description |
| 1xx | INP | 0100MMM1 |
input port is M, bits 4 and 5 must be 0 |
| 1xx | OUT | 01RRMMM1 |
output port is M, bits 4 and 5 must be not be equal to 0 (RR != 0)
|
When it comes to assembly language, there are two conventions on 8008
I/O port numbering. The first Intel 8008 reference book numbers
input ports starting from 0 and output ports from 8. The input
ports are numbered 0 through 7 (decimal). The output ports are
numbered 8 through 15 (decimal).
This can make creating an assembler slightly easier, as the
encoded instruction is automatically set with RR != 0 for output
instructions if the port number is shifted left 1 place and orred with
octal 0100. In fact, this style of assembler may accept port
numbers up through 31. The low three bits selecting the port and
the high two bits just indicate that it is an output instruction by
setting the RR bits of the instruction to a non-zero value. Since this
numbering is used in the first 8008 reference book, this is the port
numbering assignment that I have used in the 8008
source code on this web site.
Many 8008 programmers and assemblers use base numbers 0 for both
input and output, so input ports and output ports are both numbered from
0 through 7.
Cheat Sheet
Download this PDF of an 8008/SCELBI Cheat Sheet.