
Experience has shown me that while recreating or restoring vintage computers you frequently encounter unexpected “vintage” problems. Some of these problems were pre-existing and have been forgotten long ago, by the original designers and owners. Other are related to using very old equipment that may have degraded or failed, while sitting on the shelf.
A few months ago, Cameron Cooper was discussing a problem of this type with me. It was related to a SRAM failure on an original SCELBI 8B that he was trying to get back into operating condition. What was most difficult about this debug effort was that the SRAM card could not be debugged with a scope very well, because it was buried between other boards. What he needed was a extender card. I knew I would also need one at some point in the future, so I designed one and sent Cameron the Gerber files, who had several made. Laying out this card only took a couple of hours. The hardest part was finding the correct edge connector, which Cameron managed to do.
Here is the result:
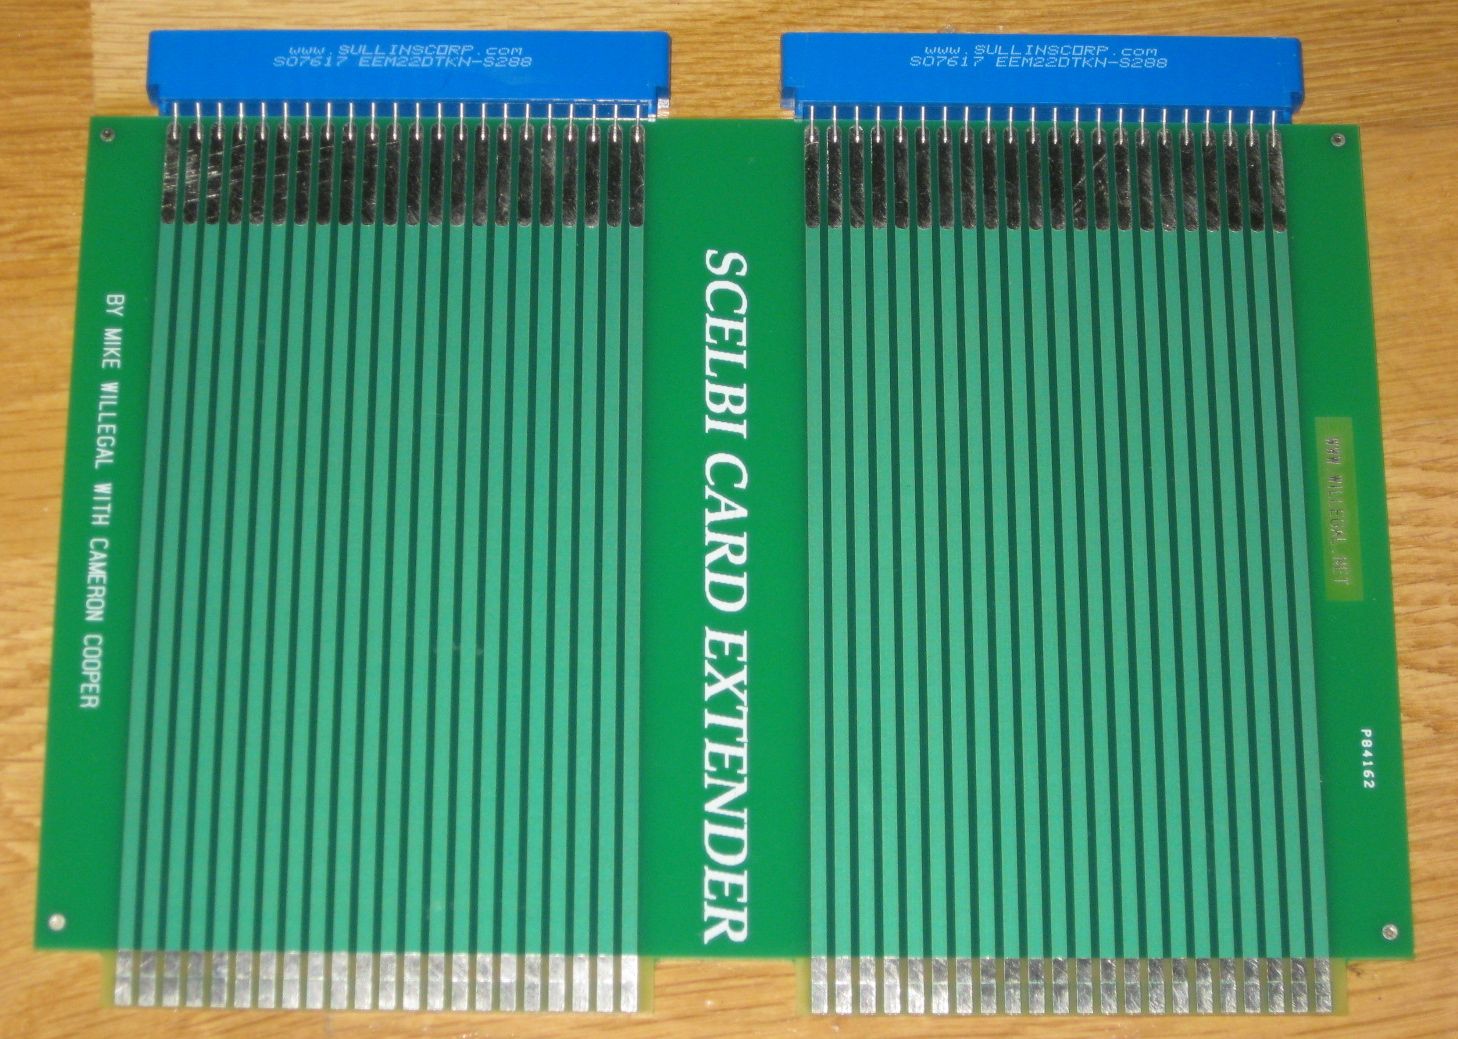
SCELBI card extender
There are other options, that could have been pursued. The SCELBI was originally built on pairs of 4.5″x6.5″ vector cards, mounted side by side. These cards are still available and Vector even sells an extender card.
http://www.vectorelect.com/Product/Extenders/3690.htm
A couple of these cards mounted side by side should work as a SCELBI extender. The main downside of this approach, is that these sell for around $45 each at Digikey, making the cost about $90. This is why we ended up making our own. With the connectors, our cost was about $60 each. The interesting part of this approach is that if we ever need a 4.5×6.5 vector board extender, we only need to cut the SCELBI extender in half.
There is a third option. That is connecting extension wires to the signals of interest on the board under test that extend to the outside of the chassis where you can pick up the signals with your test equipment.
There was one other advantage to making this extender card with Cameron. He was able to check dimensions of the finished board against his original SCELBI, confirming that I had it right.
To be honest, I haven’t looked at the Scelbi schematics since it was new. But wasn’t the backplane wired as a processor Bus. So then the cards can be plugged into any slot ? Couldn’t the Sram card be swapped aorund to the front slot to let you troublehsoot the problem ?
Nope – bus is hard wired – front slot must be front panel, 2nd card the CPU, 3rd card DBB (data bus buffer), 4th card INPUT – last 4 slots on 8H are hard wired memory slots, each supporting 1K. The difference on the 8B, is that there is an additional memory interface card between the INPUT and the four 4K Memory slots.