Check out my new web page which will be used to document the rebuild of a 1960s era Heathkit IO-14 oscilloscope.
New Retro Project
Reply

Check out my new web page which will be used to document the rebuild of a 1960s era Heathkit IO-14 oscilloscope.
Check out my youtube channel for a demonstration.
I also put together a webpage describing how an Apple II controls the switches.
I’ve been putting more video’s up on my youtube channel. The latest is a demo of my Macintosh 128K. If you are interested in the history of Macintosh computers, take a look.
I also added a web page with a pretty detailed description of the hardware that I have used to provide automatic locomotive operations.
I have spent a considerable amount of time over the last couple of months restoring a very flakey Apple II plus motherboard to something approaching reliable operation. I expect that over the next few weeks, some final testing and debugging will resolve any possible remaining issues and I will be able to declare that the system is working completely reliably.
At the start of this effort, this particular motherboard occasionally worked properly, but never would stay working for long. In the past I had worked with other early rev Apple II motherboards that had similar intermittent issues and assumed that a lot of this intermittent behavior was due to connector issues, as reseating chips usually improved or at least changed behavior.
In the past those flakey boards have ended up on my spares pile, but I was determined to get this one working properly. Though I did encounter flaky sockets, I found many chips that had bad outputs, which made me wonder how the computer worked at all. Once I started finding and replacing these bad chips, the stability of the computer improved dramatically.
I have posted a youtube video that shows how I debugged one particular bad chip.
I’m restoring a very early Apple II plus in order to sell. I believe that this particular unit is a very unusual example of an Apple II plus, as it has the second style keyboard with “domed” power light.
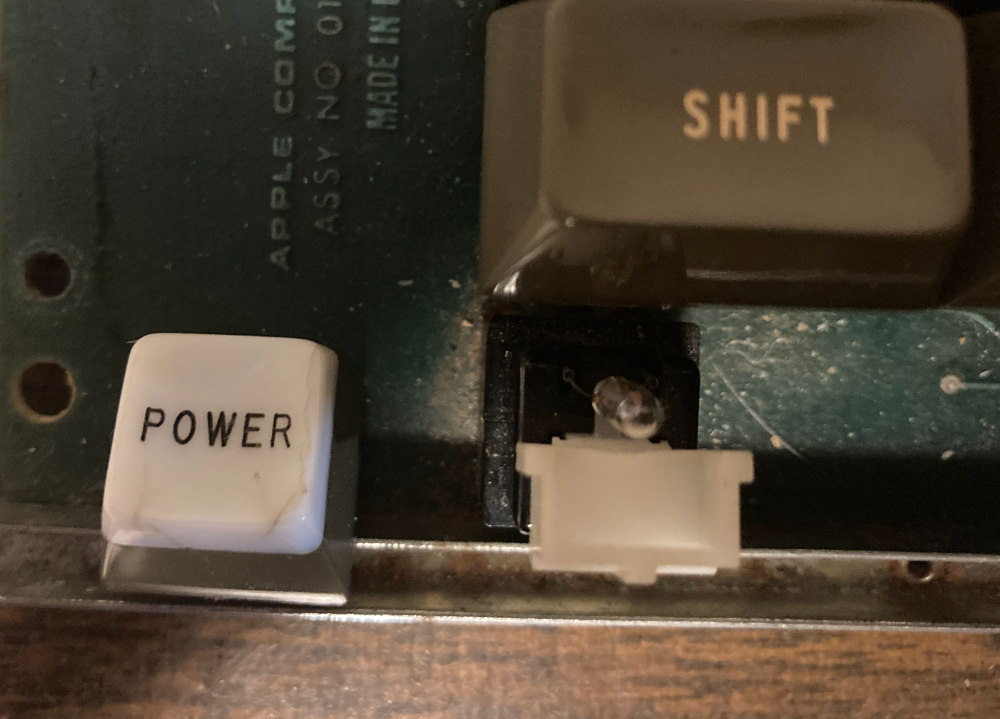
The bulb in this power light was burned out, so I did some searching and found an exact replacement is still available.
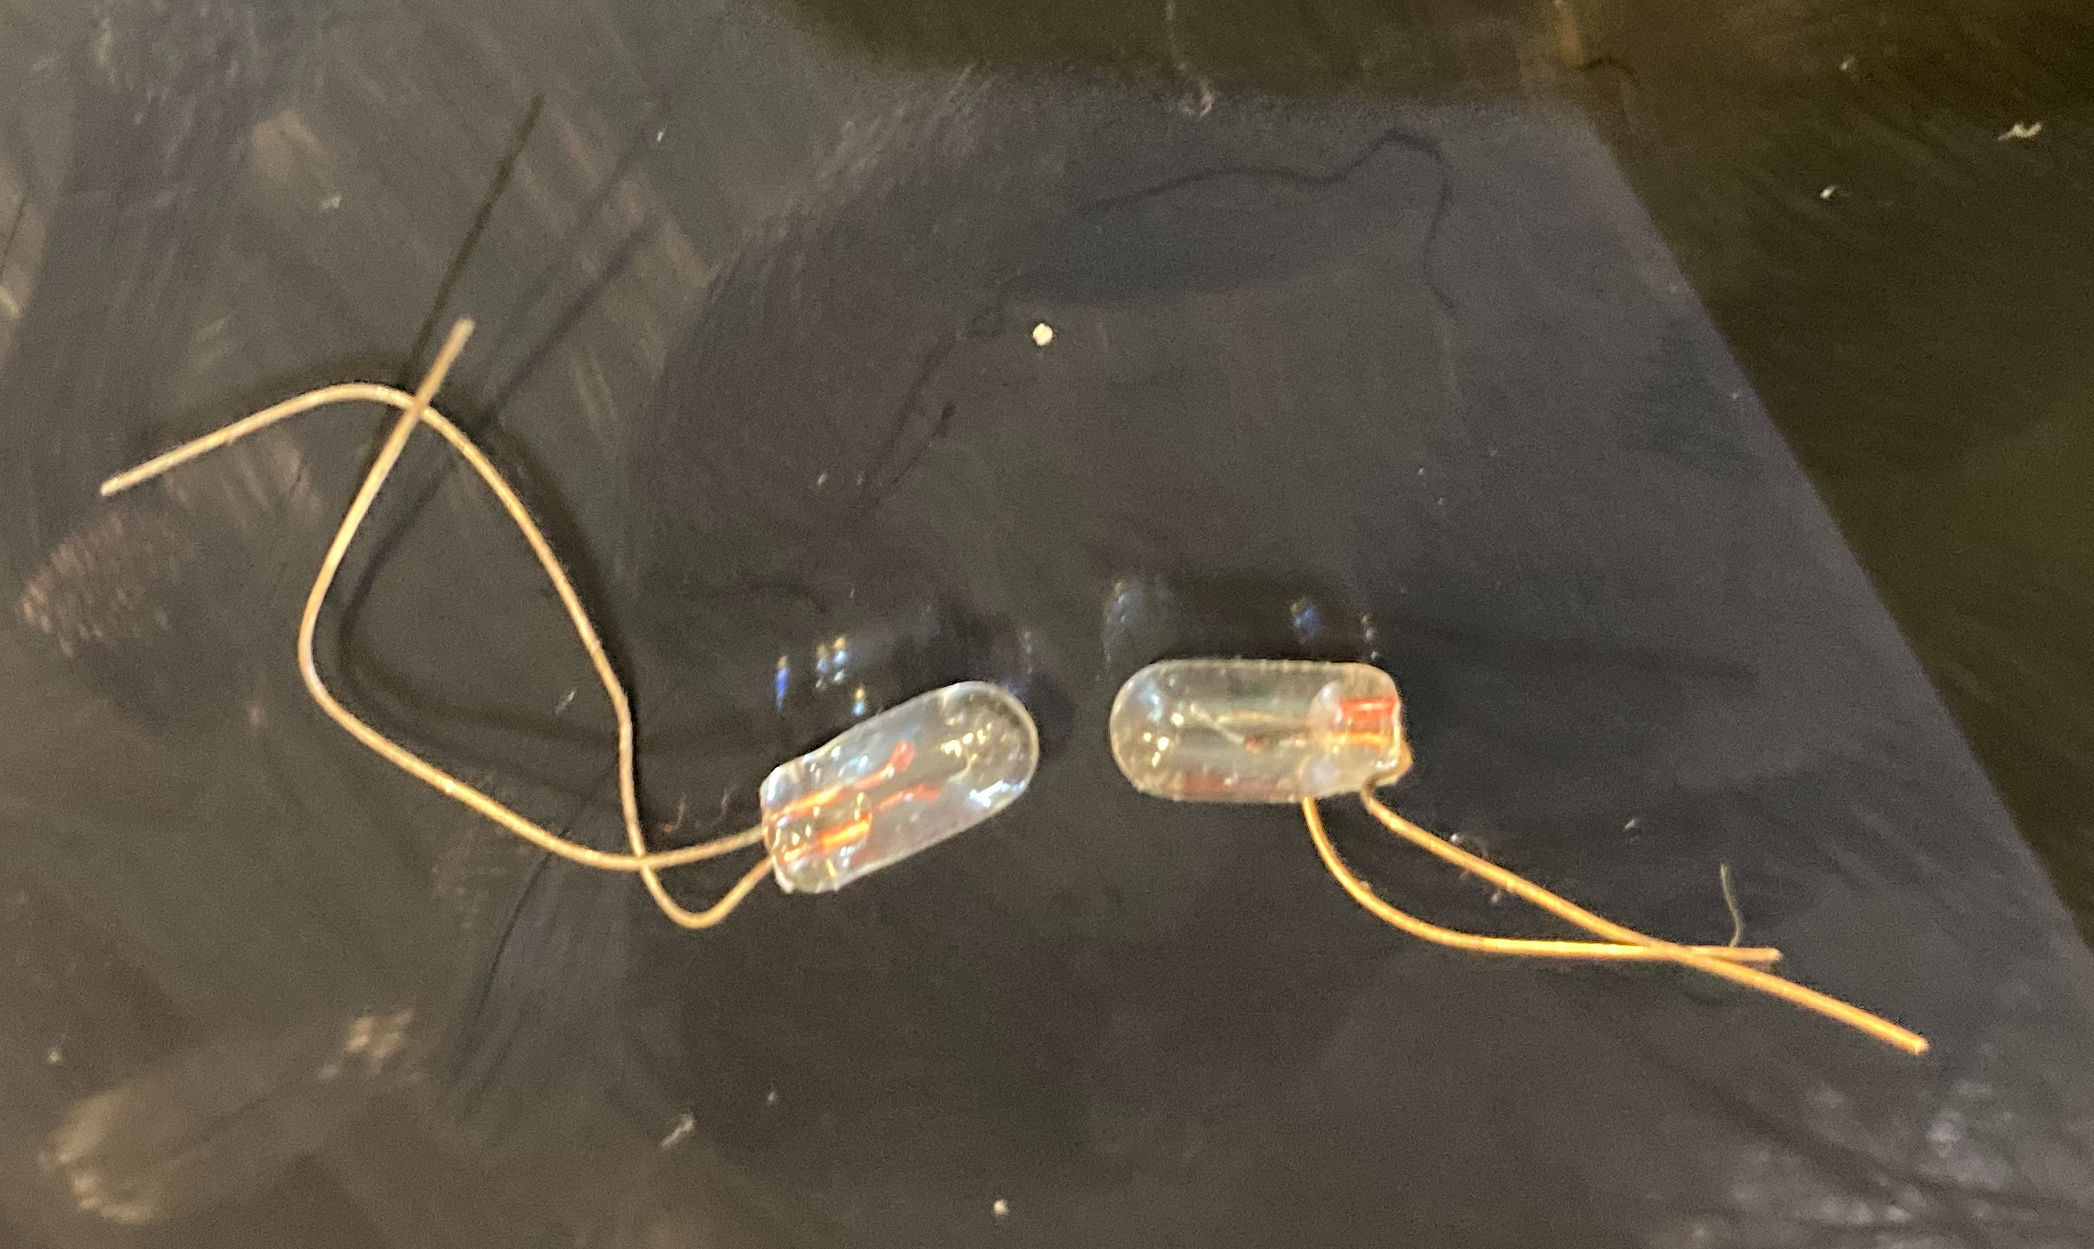
The bulb on the left is the replacement and the one on the right is the burned out original. The bulb type is a #680 miniature bulb with a wire terminal base. You can find these bulbs for 31 cents each, plus shipping, at www.bulbtown.com. Here is a direct link:
https://www.bulbtown.com/680_Miniature_Bulb_Wire_Terminal_Base_p/680.htm
In case this link goes away at some point, here are the specs:
| #680 Miniature Bulb Wire Terminal Base – 5 Volt .06 Amp 0.3 Watt T-1 Wire Terminal Base, .03 MSCP C-2R Filament Design. 0.25″ (6.4mm) Maximum Overall Length (M.O.L.), 0.13″ (3.2mm) Maximum Outer Diameter (M.O.D.). 60,000 Average Rated Hours. |
I’ve run this system over the course of many hours with the new bulb installed. The illumination is exactly the same as with an original bulb and there are no problems with the amount heat generated by the replacement bulb.
This lamp is only a replacement for the bare wire lead bulbs present in early keyboards, as later Apple II keyboards have a different style keyboard power lamp.
See my early Apple II keyboard page for more information on early Apple II keyboards.
I had to create this to debug a Apple IIc alternate memory bank issue. The source has been added to my 6502 memtest page.
In the next day or so, I’ll be adding a youtube video to my channel showing the repair (but not the diagnosis).
The first video is an Apple IIc demo. Once I’m convinced it is 100% working, I’ll be listing this machine on eBay. I’ll be demoing other machines in the future. I’m starting with some machines I need to move out, since I need the space for future activities. Eventually I’ll be demoing some of my keepers like the SCELBI and Apple 1 clones.
The Intel 8008 processor has two speed grades, 500 kHz and 800 kHz. The 800 kHz version is labeled as the 8008-1. Peter Miller is building a SCELBI 8B and decided to try to run his newly built system at 800 kHz. Using the existing hardware design he simply scaled the clock configuration. In his words…
Φ1 has a duty cycle of 42.5% and Φ2 has a duty cycle of 27.5%. The only thing I had to figure out an exact quantity for was the delay between Φ1 and Φ2, (rising edge of each, since that’s what my scope liked) which I just did (850ns + 200ns) * (500KHz/800KHz) = 656.25 ns.
What a nifty little hack! As far as I can remember or know, this could well be the first time that a SCELBI was set up to run at the higher 8008-1 clock speed. Of course, without doing additional detailed testing, there is always the chance that some component of the timing is marginal and some systems don’t work reliably at this higher speed.
Since I/O is timing is derived from the 8008 clock, most standard I/O devices will not interoperate with normal speed SCELBI I/O at this speed, but I’m sure the I/O could be fixed with some additional effort. Two devices that will probably require some extra effort are the O-scope and Cassette interfaces since they both utilize the hardware SYNC clock for timing. I/O like the serial interface that uses software for I/O timing, should be able to interoperate by simply retiming the software timing loops.
Len of 8008chron.com has fixed a lot of page ordering issues with the SCELBAL manual that can be downloaded from scelbi.com. Len has generously given me permission to put his version of the manual up on my website.
It can be found on my SCELBAL page.
Peter Miller is in process of building a reproduction SCELBI 8B and came up with good solutions for the chassis and front panel. Be aware that the following files are ONLY for the SCELBI 8B. The SCELBI 8H had slightly different backplane dimensions and the front panel lettering is different.
The front panel was purchased from Front Panel Express using this design file. Unlike the original chassis, David choose to get the lettering engraved.
The chassis was fabricated by protocase using this design file. Note that some additional drilling will be required to complete this chassis.