Yesterday, I ran across an article by Elizabeth R. Varon, an American historian and professor at the University of Virginia that got me thinking. Varon was objecting to one of Donald Trump’s executive orders. Varon relates that “the root of Trump’s order was the belief that historians have pushed a ‘factually baseless ideology aimed at diminishing American achievement.'” Varon goes on to explain that “modern scholarship asks us to reckon honestly, and unflinchingly, with complex facts and not gloss over painful parts of our history.”
Varon writes that after the Civil War, the defeated Confederates twisted the truth and obscured the facts in order to convert their failed revolt into a somewhat altered society where Jim Crow laws continued the oppression and subjugation of the black Americans, just not under the banner of slavery.

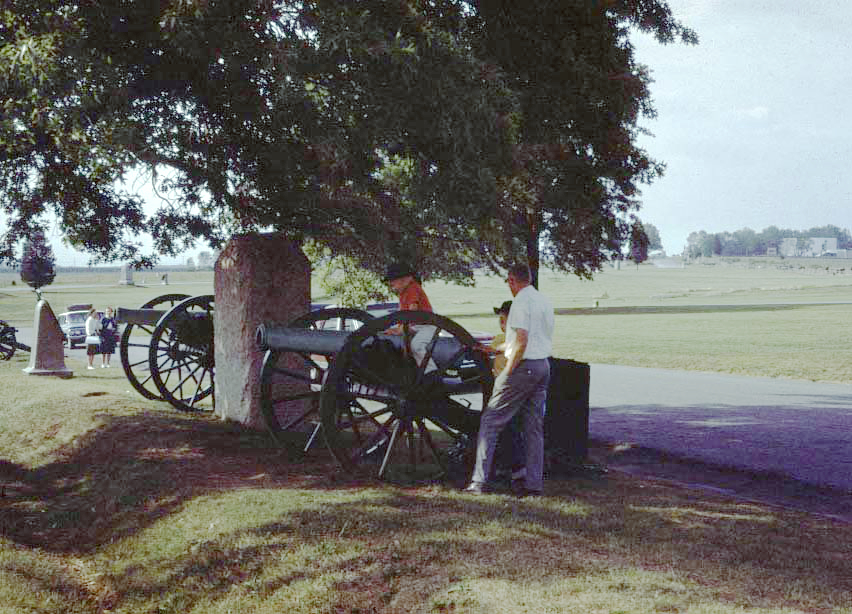
The thing that first caught my attention when reading this article is how Varon shows that a simple statement made during the surrender of Lee’s army at Appomattox was taken to mean something completely different than what I had always understood it to mean. This was the statement that the surrendered Confederates could return home and “remain undisturbed” as long as they observed the laws in force where they resided. I had never thought that this statement meant anything more than what it states. The ex-soldiers could go home and resume their civil life as long as they obeyed the law.
Slavery was already abolished in the rebellious states (Kentucky and Maryland would come later) and Grant had no authority in this civil matter. In fact, a bit more than a week later Sherman ran into some trouble when he drafted lenient surrender terms that included a number political promises to the armies under Joe Johnston. This initial set of terms written by Sherman was rejected by the Federal Government and Sherman and Johnston had to conduct a second surrender along the lines of what Grant and Lee had agreed to.
Varon, who has done considerably more study on reconstruction than I have, writes that a number of leading, non-repentant, ex-Confederates twisted the meaning of the statement, “remain undisturbed” to mean that the existing Southern slave society could continue as before the revolt. Later on, slavery was formally abolished across the entire nation, despite Grant’s “promise” of letting ex-Confederates to continue life “undisturbed.” This was considered treachery by these non-repentant ex-Confederates despite the fact that Grant had no power to abolish slavery.
The thing that first caught my attention was how Varon had discovered that ex-Confederates had manipulated the promise of remaining undisturbed into something far more than I ever imagined it to mean. Having read about the Civil War for my entire life, I had never heard about this spin on the surrender terms.
At first I thought, how could this be. I thought about this for a few days and even did a bit of research. After a couple of days, I realized that it didn’t really matter how significant this specific ex-Confederate “Lost Cause” interpretation was. Varon’s point was that many people have a tendency to manipulate facts to suite their personal goals and that a fair historian should evaluate honestly and put aside their personal biases to the best of their abilities.
Varon’s point is valid, but I think that we, as a society, not just the historians among us, need to work on expanding our ability to see alternative points of view and as Varon writes, “reckon honestly, and unflinchingly, with complex facts and not gloss over painful parts.”