
Here is the artwork I’m preparing for the front of the reproduction SCELBI cassette chassis.
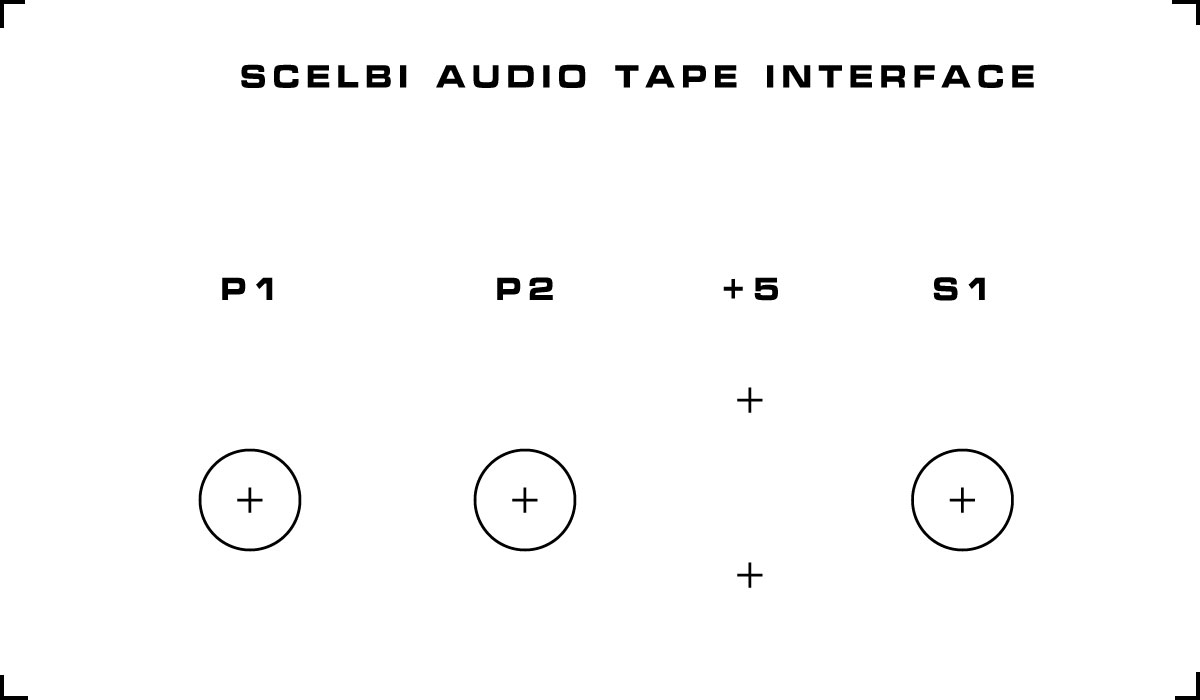
Artwork Front Cassette Chassis
Dimensions are 6″ x 3.5″. I’ll either directly silk screen the chassis or make decals. The crosses are drill points for binding posts and Amphenol connectors. I believe the holes for the binding posts will be 1/2″. The Amphenol connectors also get 1/2″ pilot holes, and then will be punched out with a Greenlee chassis punch.
I tried doing a direct transfer from a laser printer printout, but I’m not satisfied with the result. This is essentially the same process as the laser printer PCB etch method. You print onto glossy paper then apply the image by melting the toner onto the target material. The problem is that with a PCB, you can roughen the surface with sand paper to get the toner to stick. I’m not interested in damaging the surface of the chassis and the surface of the chassis is too slick to make it stick consistantly.
I’m doing a fourth round on the front panel silk screen. The third round failed when I messed up registration of the two layers of transparencies that I used as a mask. I use two layers to ensure a good image. This time, I didn’t have them lined up exactly and I ended up with a nice screen, with a double image towards one end. The good news is that I think I have solved the other problems that I have been dealing with.
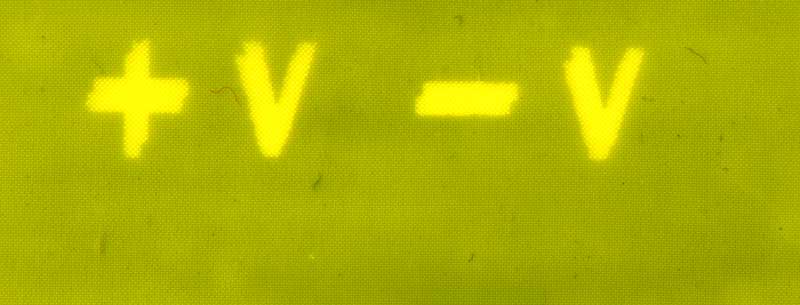
Bad Screen