
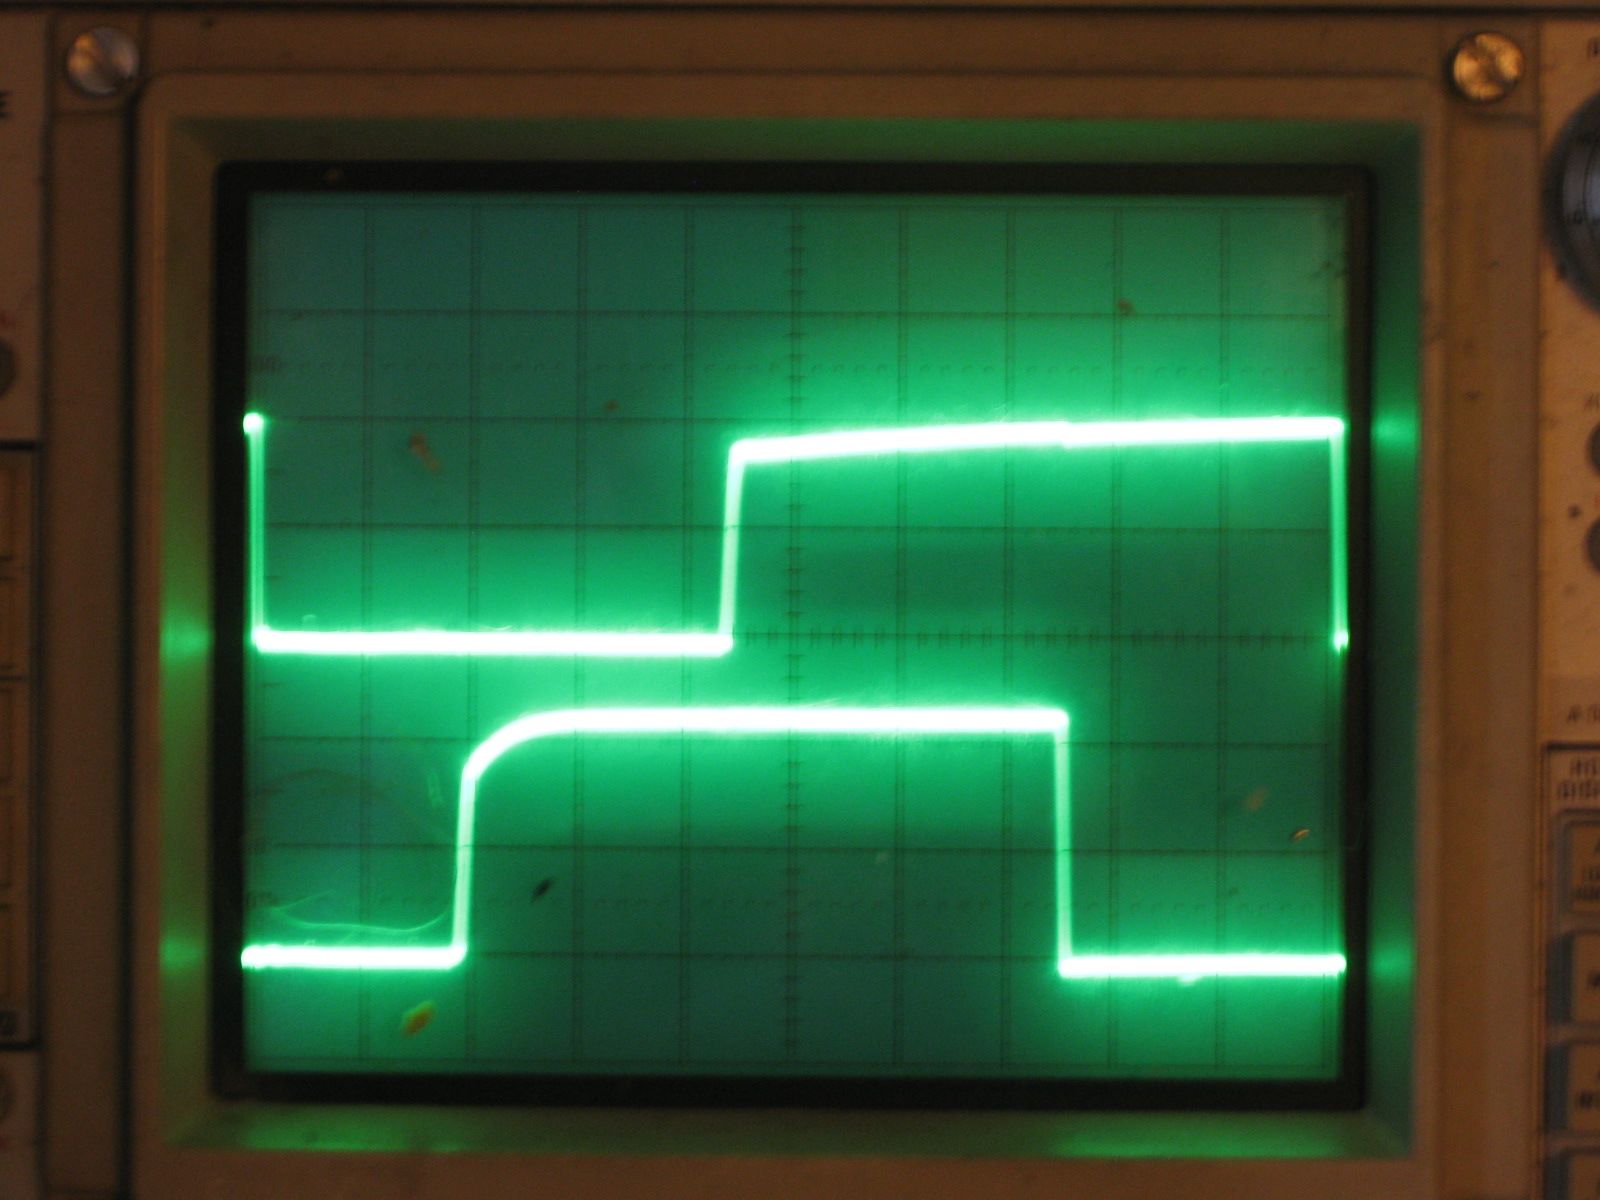
SCELBI clocks
Those of you who have followed my blog probably know how much I rely on my Tektronix 465 dual channel oscilloscope. I don’t own a modern scope or any logic analyzer at all. This scope is my main go to device, when more information is needed than what a simple DMM can provide.
Sunday, right at the end of my dummy load exercise, a serious issue with the faithful 465 suddenly appeared. At that point, the main trigger level control failed to function. I could no longer set the trigger “A” level, which pretty much makes this scope useless.
Before I go into what happens next, I’ll describe a little history of this unit. Prior to Sunday, my treasured 465 had a couple of other, less important problems.
The “B” trigger level and slope control was damaged when the scope was shipped to me and the scope took a hit to the front corner. I disassembled the switch and straightened the bent components when I first got the scope and got it working. My repair was less than perfect, and after a bit of usage, the slope switch broke again. I don’t use that feature very much and didn’t bother to fix it again until a couple of months ago. I decided I wanted it to work right and I went in and fixed the slope switch again. This time, I think I bent the sheet metal just right and the switch worked just like new when I was done. If you are handy, these switches are surprisingly repairable, but you need to tweak things, just right. Even though I fixed the switch, itself, the slope function still didn’t work. It still only triggered on the down slope. There must have been some kind of problem in the circuit. Anyway, being a little intimidated by the apparently complexity of the electronics in this scope, I decided to leave good enough alone, and left the “B” trigger control in the broken state.
The other issue was that the coarse horizontal position control was always a bit jumpy. It worked well enough that I could position the start of the trace in the general area that I needed it, but it wasn’t a pleasure to use. The fine control was just about useless, since I first received the scope.
There is one other issue with scope that showed up in the last few weeks. I think it started with a rather large cup of coffee that I spilt on my work bench. I cleaned it up, but I didn’t realize until a week or so ago that some of the coffee had dripped off my bench onto the front of the scope which is kept stored on the floor right next to that bench. Well, when using the scope a week or so ago, I noticed that controls were incredibly sticky. The buttons were most noticeably sticky and I had to force them to move. It was very puzzling, until I remembered spilling the coffee. At that point it had all dried up and there was little I could do, except keep using the scope and hope the controls would loosen up over time. The alternative would be to disassemble the scope and clean the controls. Do to the complexity of construction of this device, this is something that I was hesitant to undertake.
That brings us up to last Sunday, when the trigger level control malfunctioned.
to be continued…
Damn it Mike, spit it out (not the coffee!) – my 464 just smoked and there’s no horizontal sweep on my 465 so I want to know more!
Pingback: Tektronix 465 repair part II « Mike's Hobby Blog
Pingback: Tektronix 465 repair part III « Mike's Hobby Blog
Pingback: Tektronix 465 repair – part IV « Mike's Hobby Blog
Pingback: Tektronix 465 repair – part V « Mike's Hobby Blog
Pingback: Tektronix 465 repair – part VI « Mike's Hobby Blog
Pingback: Tektronix 465 repair – part VII « Mike's Hobby Blog
Pingback: Tektronix 465 repair – part VIII « Mike's Hobby Blog
Pingback: Textronix 465 repair – part IX « Mike's Hobby Blog