
A ton of progress today.
I cleaned the soldering junk off the board this morning and let it dry until I came home from work.
I hooked up the PEM (power entry module) with no chips stuffed to see if the power supplies were ok. Powered up and checked the voltages and they all looked reasonable.
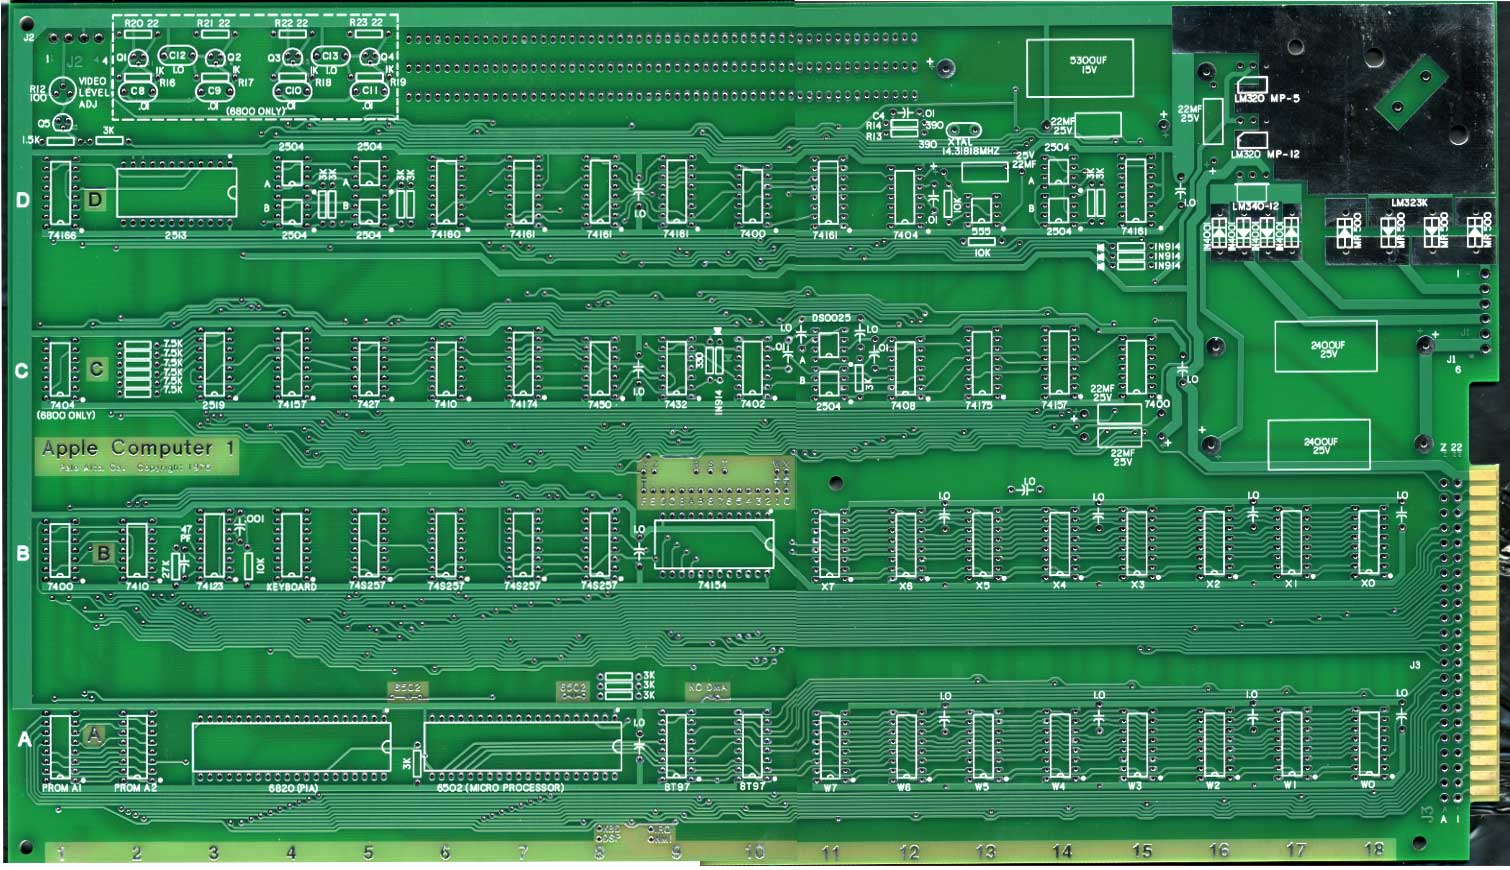
Next I stuffed the stuff necessary for a video display. That is rows C and D plus B2 (I think that was the row B chip).
Modified a video cable to connect to the connector on the board and got my monitor out. I plugged everything in and sure enough I got a display. Felt around the board for hot chips and nothing seemed very warm. Powered off and powered on again and nothing happened. Checked voltages and nothing. Somehow the 500 milliamp fuse in the PEM was blown. Replaced the fuse and tried again and the display came back as before. It had a bunch of pretty much random stuff, including a lot of @ signs. It was a little strange in that during initial power up, the contents of the screen would scroll up till near the top of the screen and then stop. I’m not sure if that is normal or not for an Apple 1.
Here is a picture of the set up.

I jumpered clear screen to +5v and sure enough the screen cleared out. Things seem pretty promising.
I now stuffed the remaining chips, which actually wasn’t much and one bank of DRAM. I then soldered the 6502 jumpers and the address selects for PROM (0xf), 6820(oxd) and the bank of DRAM to address 0. Powering up again, I got the same screen contents. Shorting reset to ground got nothing. Ok now it’s getting late, do I call it a day or not.
Well I decide to get out the oscilloscope. I spent a bit of time figuring out that one of my probes is dead. After switching probes, it quickly becomes evident that there is no processor clock because I didn’t connect the NO DMA jumper. That jumper is only left open if there is an expansion card attached that drives that signal. Ok a blob of solder connects that jumper. Now I get what appears to be a prompt, after reset, but also some other characters. Time to get out the keyboard.
The keyboard is attached but when I hit reset the power light on the keyboard goes out and the computer doesn’t respond to keystrokes. I decide it’s late, time to update the blog and get some sleep. After shutting down I think I realize that the keyboard cable is connected backward. Oh well, it is late – I’ll pick it up tomorrow.


