I helped with the PCB layout for this cute little dongle. It has a clear screen switch, which isn’t normally available on an Apple II keyboard and does the rewiring necessary to connect a stock Apple II keyboard to an Apple 1, Mimeo or other clone. These are not needed for replica 1s, which has the keyboard pinout necessary to work with Apple II keyboards.
Here is one in action, hooked up between the keyboard and the Mimeo.
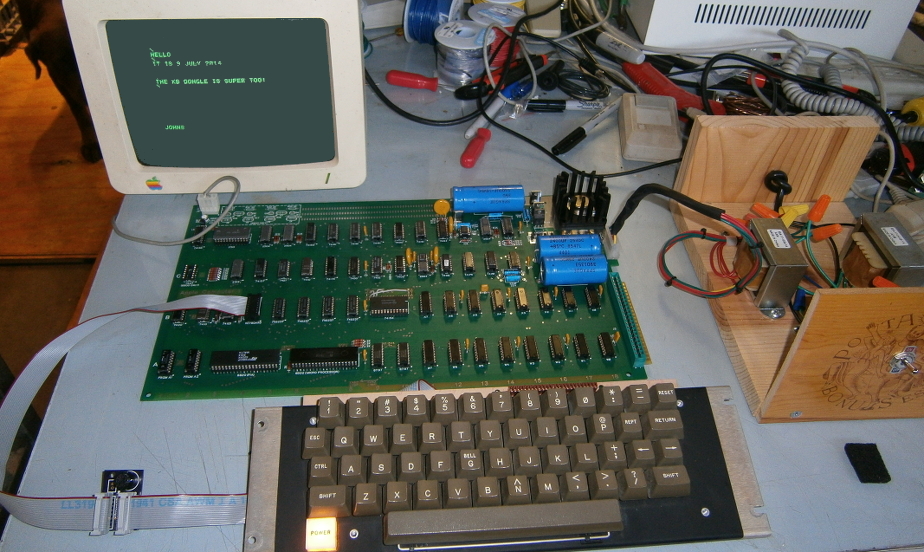
Keyboard Dongle
They are being sold by seller vintagemicros on eBay: ebay listing
One word of caution – be sure to connect pin 1 of cables to pin 1 on PCBs. If you reverse them, you will probably blow the 7404 on the keyboard’s encoder board.
One last thing, I connected pin 4 of the keyboard socket to the clear screen input on the Apple 1. Pin 4 is normally not connected on an Apple II keyboard, but if you make the keyboard encoder mod to use the repeat switch as clear screen input as described on Wendell Sander’s site, it will work without any further wiring changes.