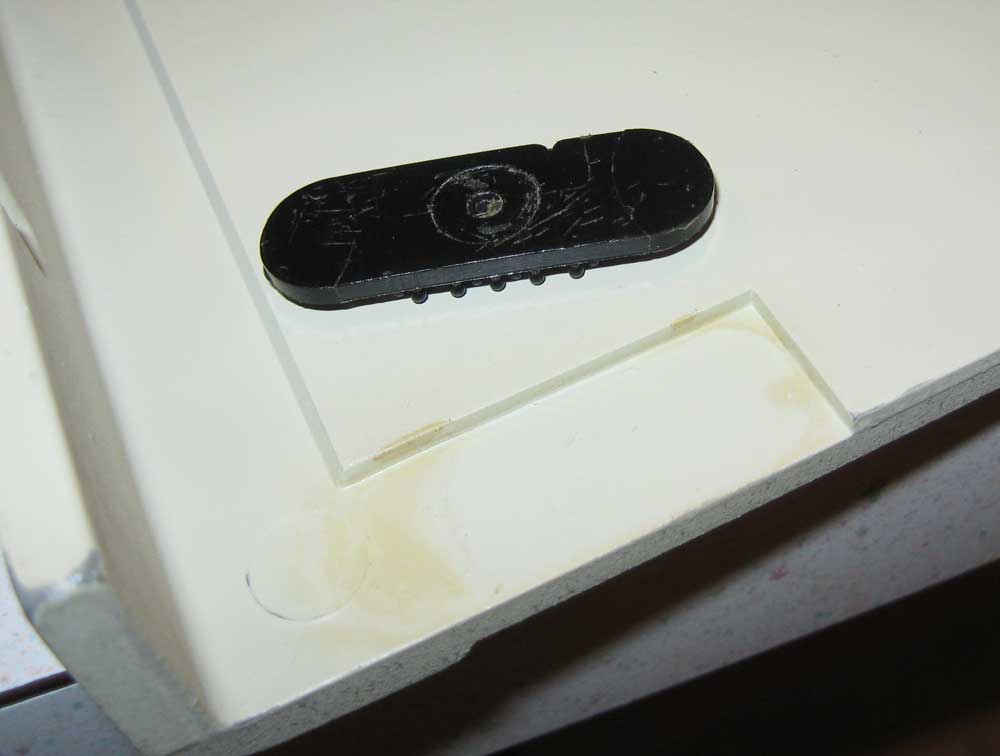
The “Hedlock” connector on an Apple II is the fastener that holds the lid of the case to the case. It is similar to a 3M Dual Lock reclosable fastener. On the Apple II, it is attached to the enclosure and lid with double sided tape. Over time, the adhesive loses it’s effectiveness and the Hedlock connector comes loose from either the lid or the base of the computer’s enclosure.
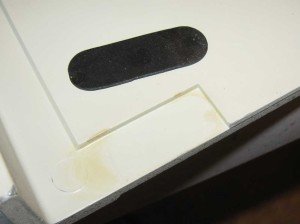
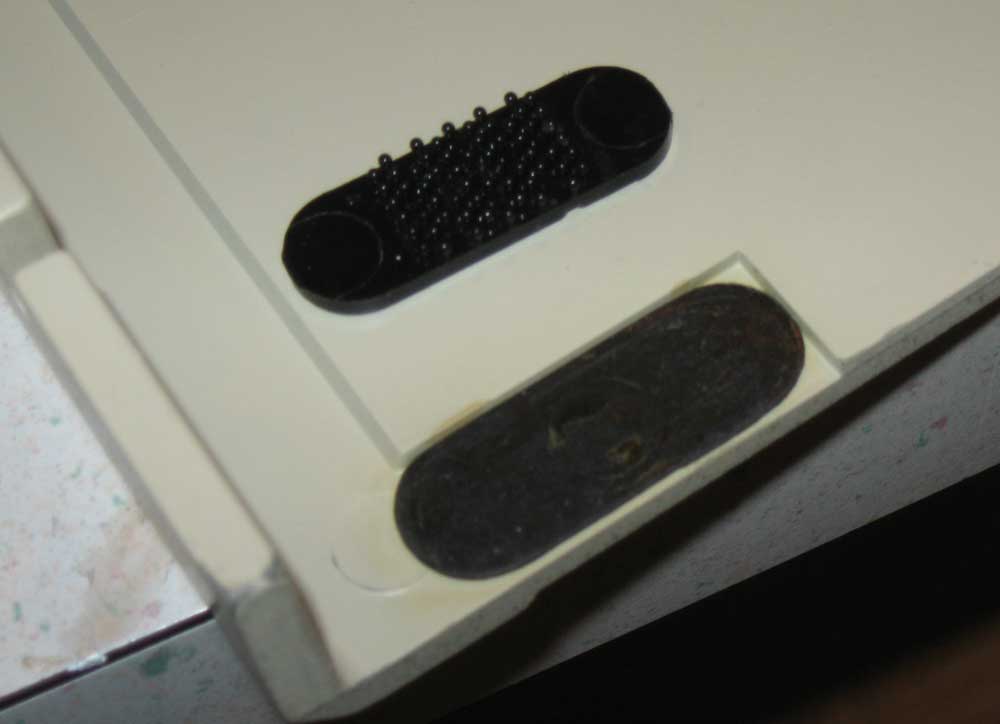
Here is an example where the tape stayed with lid, but the fastener came loose.

Delaminated Hedlock Fastener
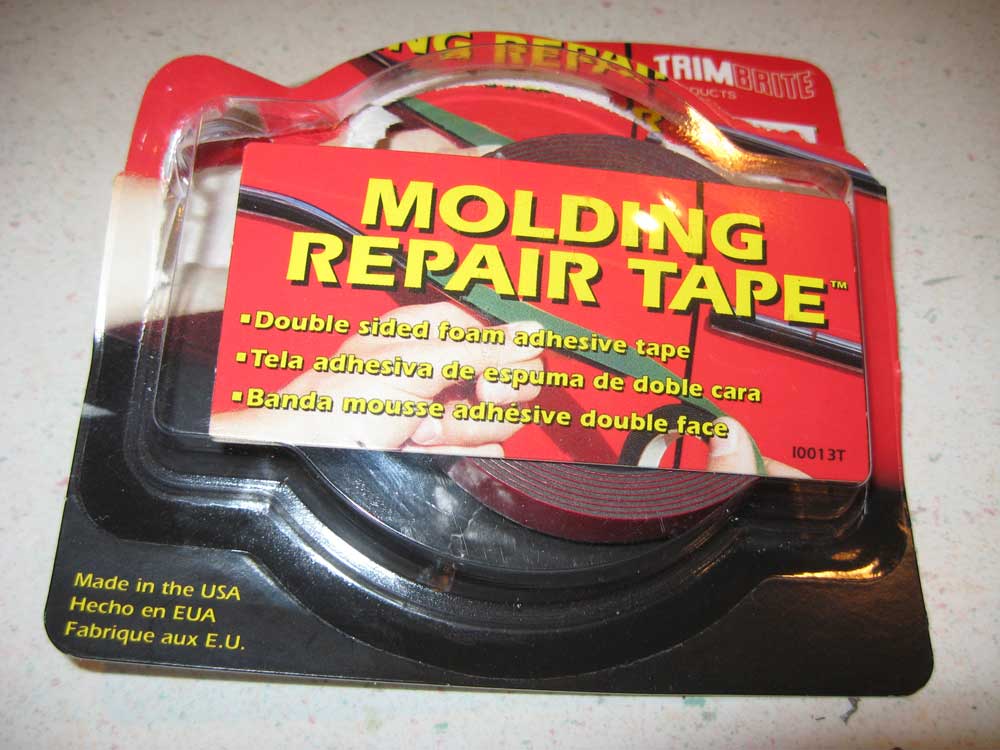
I used to use contact cement to reattach the fastener to the tape, but I found over time that the contact cement is less than an ideal solution. I think I found a better solution using the tape found in auto part stores that is intended to reattach loose trim pieces. This 1/2″ wide double sided tape has an extremely strong, long lasting adhesive on both sides, so I expect this solution to be an improvement over the contact cement approach.

Before attaching this new tape, you should remove the old tape and adhesive. This is, by far, the most difficult part of this job.
In this example the old tape, which was attached to the lid, simply pealed off.
Old Tape Removed From Top
The adhesive remaining on the Hedlock fastener was another matter. The bond is very strong, and in this case I eventually resorted to using a X-acto knife with a chisel blade to remove it. I left a few nicks in the surface, but since this is covered up with the new tape, I figured it wasn’t the end of the world. In a previous case, I managed to do it by rubbing with my thumb, but I ended up with a large blister on my thumb. I was temped to try a solvent like Goo Gone, but didn’t want to risk damaging the fastener. Here is the back of the fastener with the adhesive removed.

Old Glue Removed From Hedlock Fastener
Before reattaching the fastener, I cleaned up this area of the lid with Isopropyl Alcohol.
Next I pealed back a strip of the new tape and stuck it to the fastener and cut the tape off from the roll.
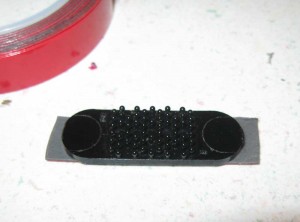
New Tape Applied to Hedlock Fastener
Then I took a sharp scissors and trimmed the ends of the tape to match the curve of the ends of the fastener.

New Tape Applied to Fastener and Trimmed
The last steps are to remove protective backing from the adhesive tape and carefully press the fastener back in place.
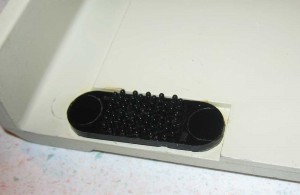
Hedlock Replaced
I don’t know if it makes a difference, but I would wait a day before putting any stress on the reattached fastener.


