
Back in this post from almost a year ago, I noted how I “repaired” an iMac power supply by reflowing some suspect solder joints. Well the repair lasted less than a year, when the problem returned. After attempting another go at reflowing solder joints, which had no effect, I ended up getting and installing a new supply. Hopefully the new supply lasts more than a year.
a little more progress on City Point car repair shed
Car Repair Shed Progress
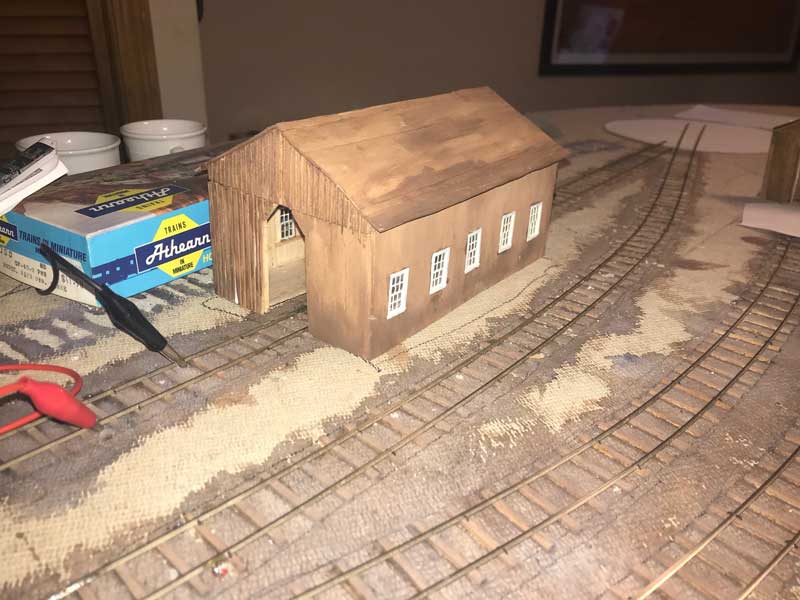
I’ve been adding battens for board and batten siding to the end of this structure. I figured it would easier to paint/weather the 1×3″ lumber before adding it. The six over six windows are Tichy Train Group #8024, which appear to be a near perfect match to the originals.
A Little Progress with City Point Structures
Buildings Under Construction
I have one wall on the car shed, and it is starting to look like a real model. This wall went on a lot easier than I expected. I still have to stain it, and add battens to the siding, but I’m starting to think that the end product might turn out OK, despite the steep learning curve that I’m going through. In case you are wondering, I’ve designed these buildings to use Tichy Trains’ #8024 6 over 6 double hung windows, which seem to be a pretty close match to what I see in the pictures of City Point.
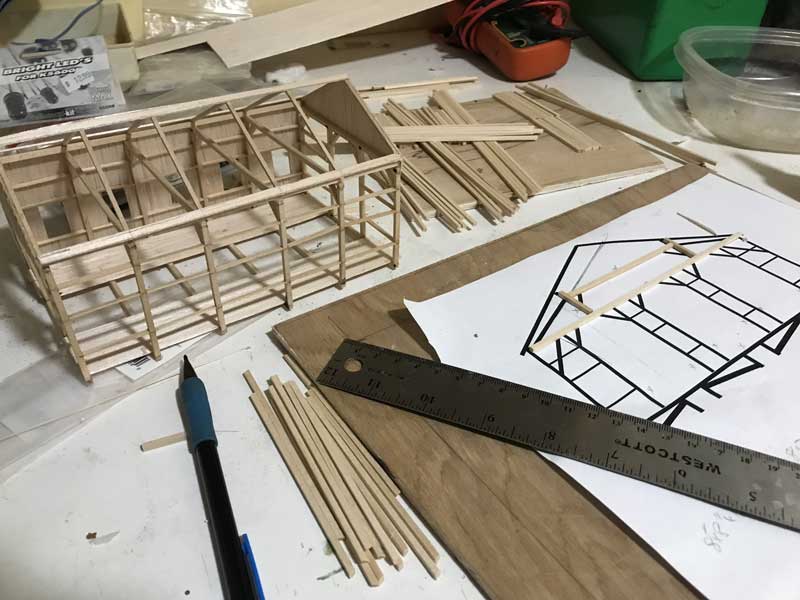
I’m learning a lot building the City Point car repair shed. The most important thing is, without a jig, cutting beams to consistent length can be very difficult in a HO scale world. I ended up buying a Micro-Mark Chop-It in order to make cutting the beams for the City Point engine house, a much easier, more consistent effort. While not the most precise device in the world, I’ve been able to cut quite a few beams for the engine house in one sitting, as you can see on the right hand side of the picture.
I’ve also going to try a different order of construction for the engine house. Rather than use the big beams to connect each frame, I’m going to connect the frames with the smaller connecting pieces (known as blocking) that hold the windows in place. I will connect the big beams afterward. The problem with connecting the frames with the big beams first, is that the blocking needs to fit very precisely between frames, which is very hard to do in HO scale. I think it will be much easier to use the blocking to connect the frames, and then lay the big beams from frame to frame, which should require a somewhat less precise fit.
Apple II Restoration Redo
When I restored my Apple II back in 2008, one of the things I did was to remove a modification I had made back in the late 1970s.
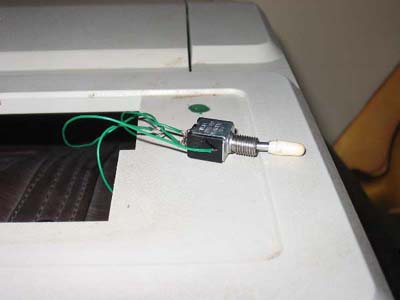
This was a change that I had made in order to work around a very annoying feature of the Apple II. The reset switch was located right next to the return key and was not gated by any other keys or logic. If you were typing on the keyboard and attempted to hit the return key and accidentally hit the reset key by mistake, you would reset your computer. My fix back in the day, was to put a toggle switch in series with the reset key that would disable or enable it. Here is a picture of the switch in 2008 after it was pulled and with the mounting hole filled with modeling putty.
Reset Switch Being Pulled
Over time, I realized that the reset mod was part of the history of the computer and should have been left in place. I came to this conclusion quite a number of years ago. This morning, I finally went ahead and put the toggle switch back in. This is same exact switch that I pulled out of the machine in 2008.
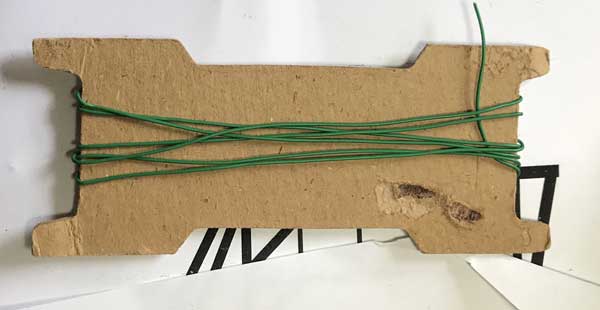
Sometimes being a pack rat, pays off. I was even able to find some of the same green wire that I had used to wire the switch back in the late 1970s.
Old Green Wire
The reinstallation wasn’t without difficultly, though. After reassembling the machine, I couldn’t get a reset to “take”, at all. Turns out that the reset key itself had decided it didn’t want to function. I disassembled the machine, and flooded the key with isopropyl alcohol. That did the trick and it came back to life. While I had the machine apart, I also flooded the control key, which has been giving me trouble for a number of years. Since the machine has been sitting for quite a while, a few other keys need some coaxing, but they all came back to life.
When I originally did the job, I didn’t label the switch, and often forgot which position was which. This time, I decided to label it. In retrospect, I should have used a normally open, momentary switch, which in effect, would have worked the same way as Apple’s control-reset solution. I didn’t think of that back in the day, so I decided to reinstall the same old switch with the addition of those descriptive labels.
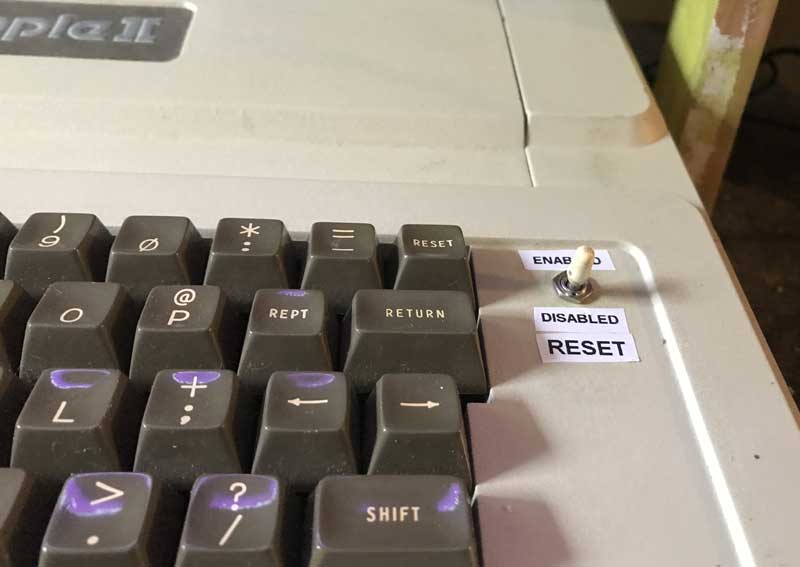
Reset Enable Switch
Views From A Couple of Mountain Tops
While I enjoy my indoor hobbies, I also will rarely pass up the opportunity to enjoy the outdoors. Here are pictures from the top of a couple of mountains that I have climbed in the last year.
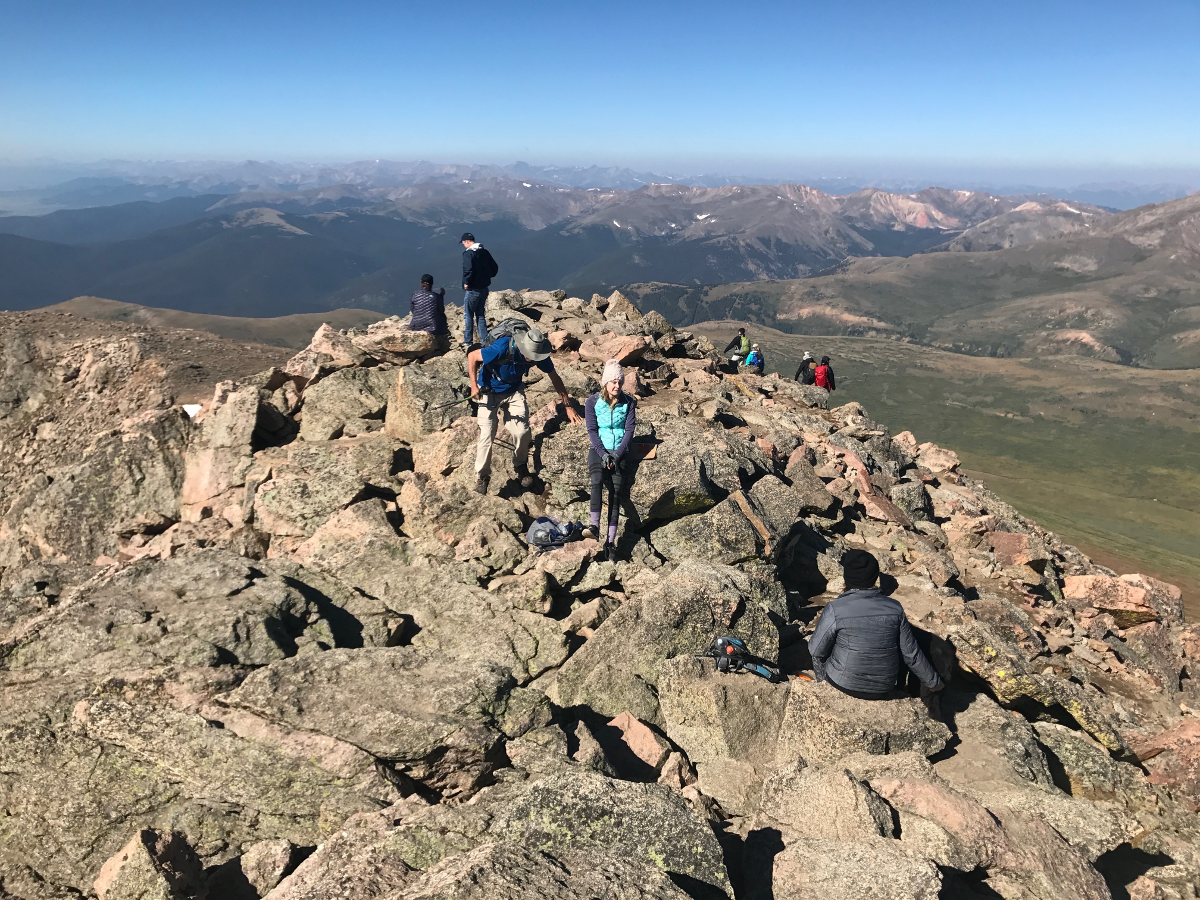
On Top of Mount Bierstadt
I climbed Mount Bierstadt in Colorado last August. This was my first fourteener, so called because it is over 14,000 feet high. It was a beautiful day and I enjoyed the climb, and yes, I did notice the effect of the thinner air at high altitude. This is one of easiest fourteerers in Colorado. I can only imagine that one of the more difficult ones would be pretty challenging, and most likely dangerous.

Welch-Dickey Trail
This is a picture of Mount Dickey from the top of Mount Welch, which I took last weekend. This is also a first. The first time I hiked a mountain covered with snow and ice. It wasn’t as hard as I expected, but I was expecting a major challenge. I was lucky my friends were able to loan me micro-spikes which turned an impossible situation into just a somewhat challenging situation.
Scratch Building a Model of the City Point Car Repair Shed
This is the first time that I’ve tried scratch building a structure and I’m finding it is a lot more fun than wiring the Engine House module. I plan on adding some detail to the interior and making the roof removable. Here is what it looks like at this point.
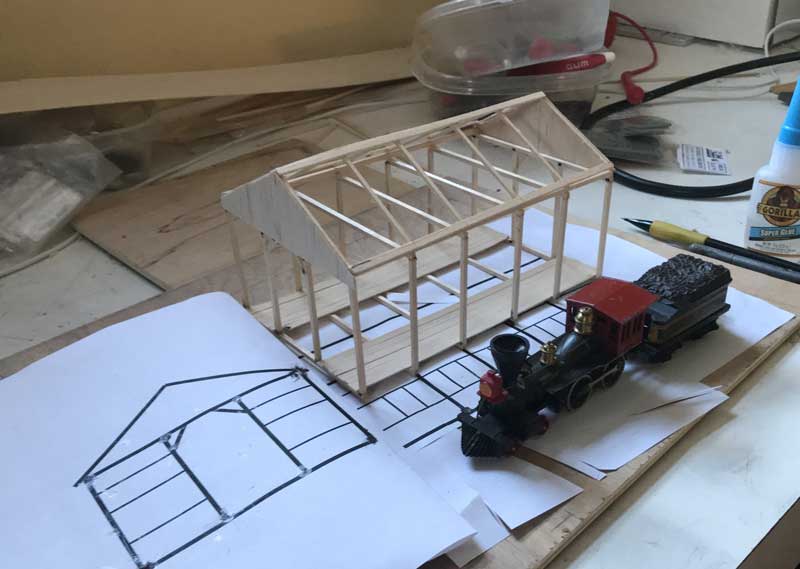
Scratch Building City Point Car Repair Shed
In order to generate the drawings, I cropped, scaled and de-skewed a digital image of the car repair shed in photoshop. I then imported into Illustrator and drew what I think the framing should be like over the top of the image. I then printed without the original image.
Car Repair Shed
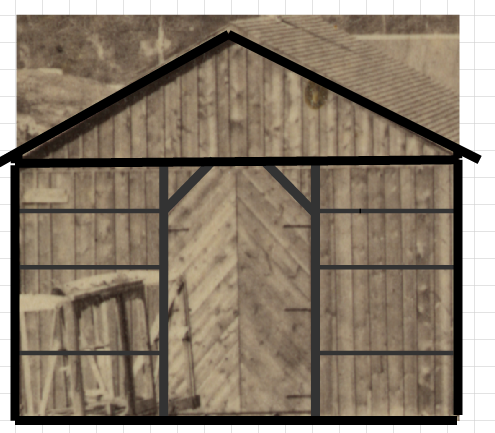
There are several surviving historic photos of the engine house, a warehouse and a storage shed under construction. Though I’m familiar with modern wood frame construction, these buildings were put together somewhat differently. Here is a crop of a photo of a storage shed under that is under construction.
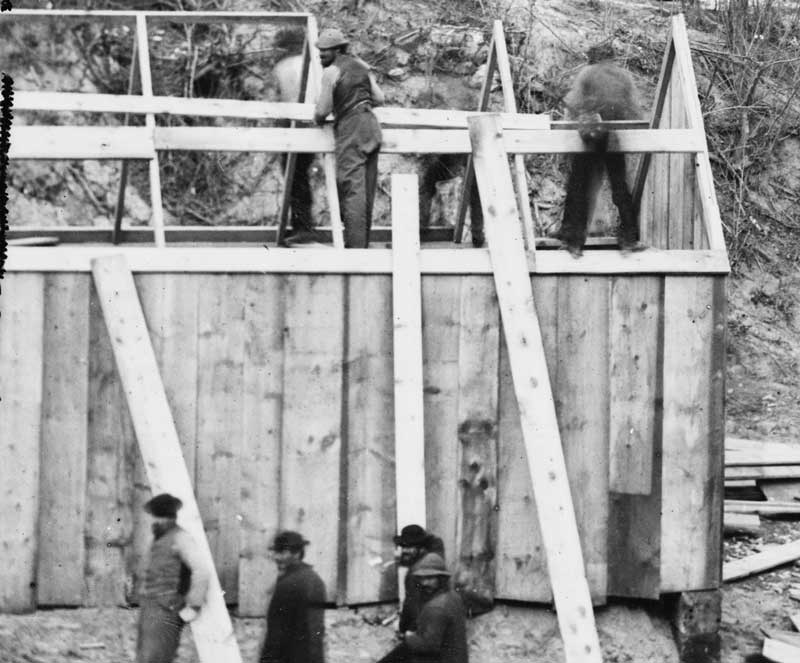
City Point Storehouse Under Construction
Superproto PCB Design Files Just Made Available for Free Download
I just added a link to OsmondPCB and gerber files to the Superproto Wiki in case someone wants to build their own PCBs.
http://willegal.net/superproto/index.php?title=Main_Page
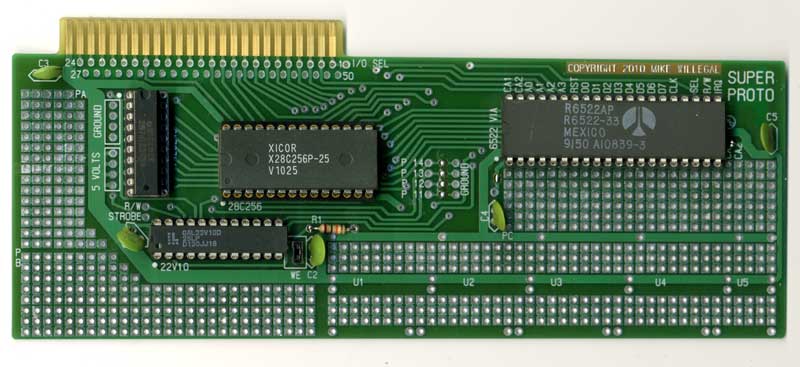
SUPERPROTO
In case you weren’t aware of it, the SuperProto is an Apple II prototyping card designed with EEPROM and the basic Apple II hardware interfacing circuitry “built in”. This makes implementation of some types of Apple ][ interfaces much more straightforward than doing it all from scratch.
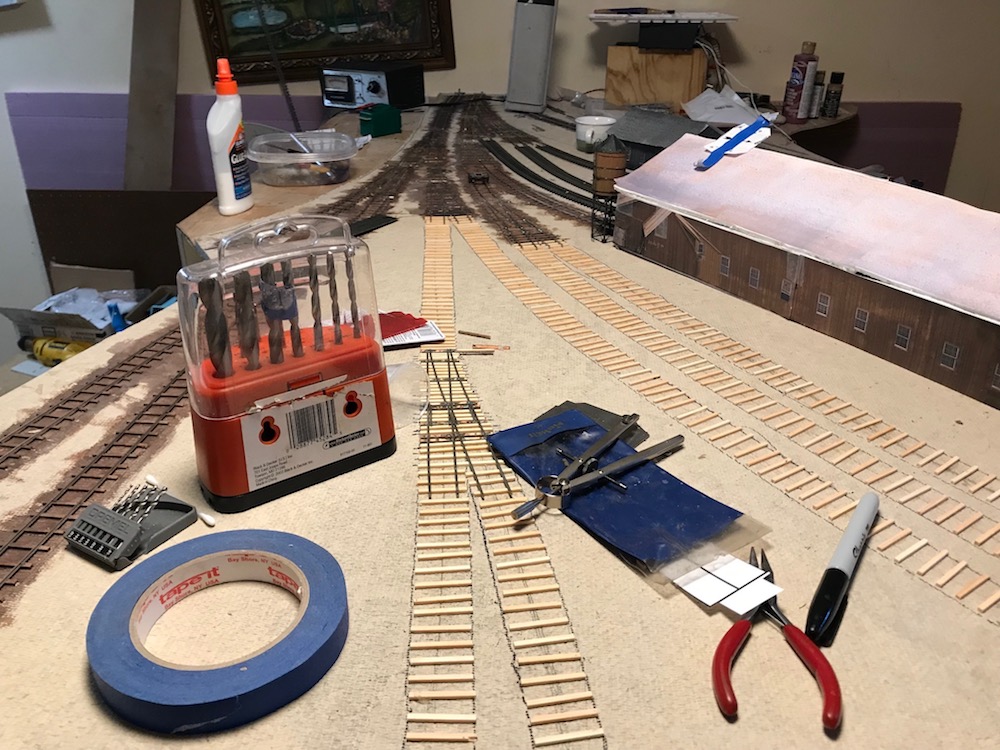
Track (mostly) laid on the Engine House Module
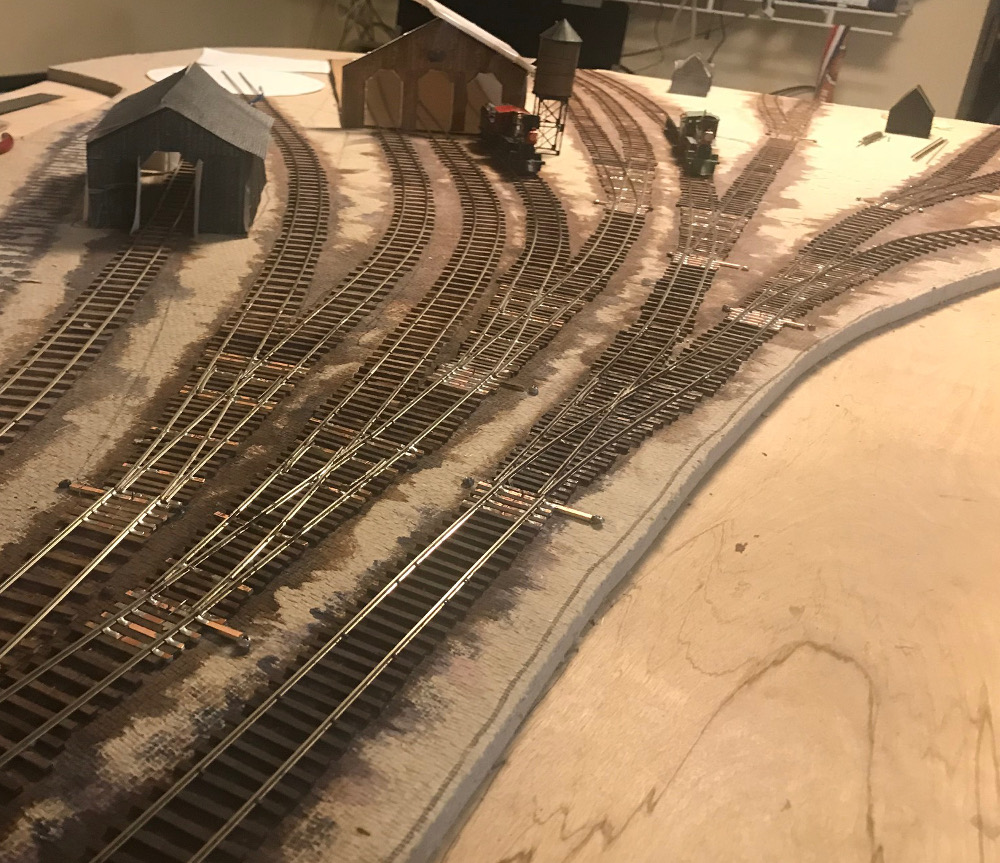
Track Laid on Engine House Module
So far, over 1200 ties, 1000 Spikes, and 100 feet of rail used on this first module. I’m out of spikes, so there is a bit more work to do on the car repair track.
There is a lot of track in this small area, but there is no traditional type yard. I wonder how they organized loading of stores onto appropriate cars and then made up the trains. After all, there was something like 100 cars and 10 or12 locomotives on the City Point and Army Line Railroad.
You can see where I pulled up and relocated the car repair track on the left side of the image. There may be other places where track may be tweaked, but I don’t expect to do any other major relocations. The buildings are paper and card stock mockups and will be replaced with custom made models.
Next steps are to wire the track and switches and make sure that the trains can negotiate this track without too much trouble. After that I’ll start on structures and build the car repair shop. I haven’t decided what to use for ballast or when to place it.
Here is a somewhat similar historic view taken before the car repair shed and turntable were built. The image was probably taken in October, 1864. My layout is designed to replicate late March, 1865 and a lot of things changed between those dates.
Engine House from Cut
City Point Progress
I’ve been working hard on the track and have 8 of the 10 switches operating. I think I could be done with track in about a week, though wiring of the track and switch frogs may not be done by then. Part of the remaining work involves moving the track for the car shed, as I’m not happy with it’s location. It’s spaced too far from the tracks leading to the engine house.
City Point Progess – Feburary
Despite doing considerable planning, one thing that has surprised me, is how much of this section of the layout is dominated by the track, itself.
Building and installing the switches has been extremely time consuming. Even after the practice of completing eight of them, it still takes an hour to build the switch skeleton and then a couple more hours to install, and that is without ballast.
Another thing, is how tight the spacing is for the three switches that lead from the main line to the engine house. For the same frog number, it appears that stub switches take quite a bit more space when compared to more modern switches.
Design Your Own Train – Apple ][ application – circa 1987
Sometimes I can’t resist things which cross over multiple hobbies that I enjoy, especially when the price is low. I recently picked up a near mint copy of this Apple ][ program on eBay.
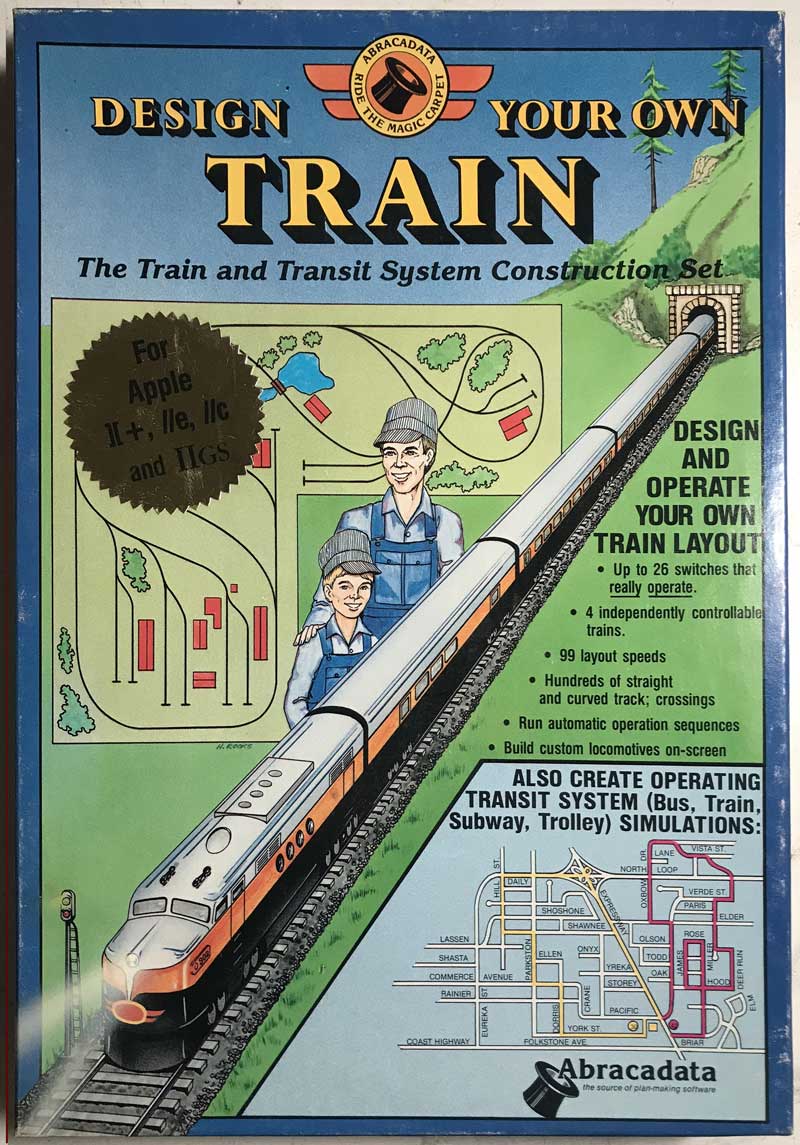
Design Your Own Train – box
The contents are in immaculate condition and were nicely produced.
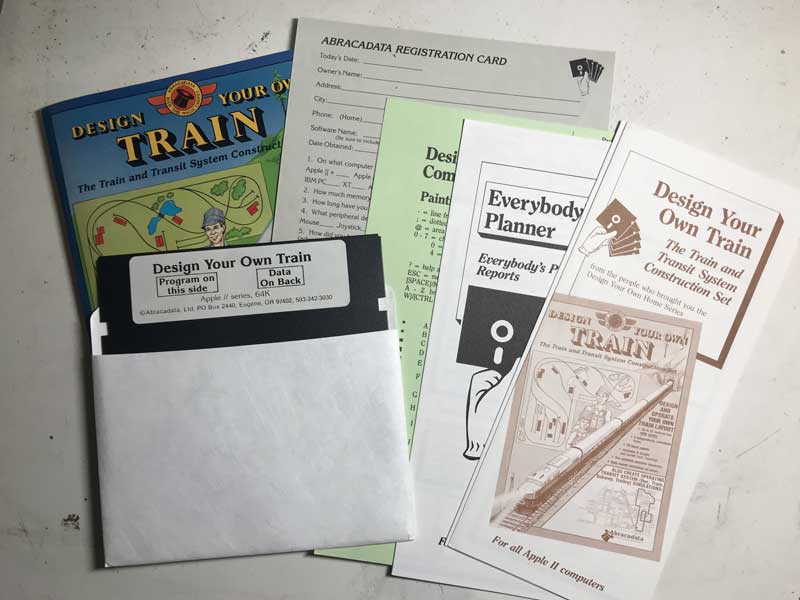
Design You Own Train – contents
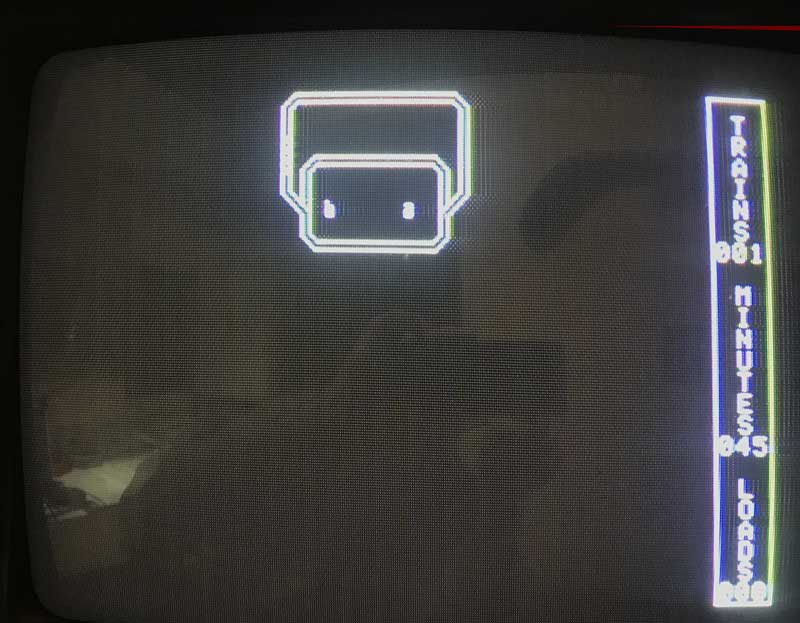
The program is supposed to allow you to design a layout and run trains in what is now known as a virtual environment. Here is the screen that comes up when the program is first started up. It shows a completed layout up and operating.
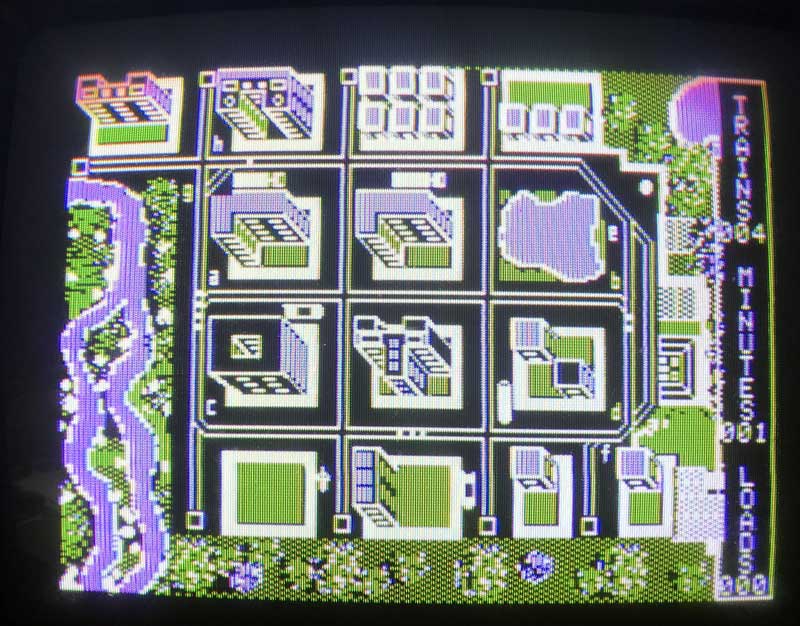
Design Your Own Train – startscreen
I spent a couple of hours figuring out how to design a railroad myself, and run a train in this virtual environment. The result was this simple layout.
Design Your Own Train – custom route
The learning curve was quick and within a couple of hours, I had a train running – really not a bad experience. Many “modern” programs will be much, much harder to come up to speed on.
However, my impression is that the limitations of the program prevent it from becoming a real design or operations planning tool that the companies marketing claims it to be. Though I might be able to put the City Point module that I am currently working on into the program, it would be only in a stylized way. Back in the day, my opinion is that pencil and paper would have been a better tool. Here are some of the more severe limitations of the program.
Overall, learning this program was a fun and inexpensive little experiment in nastalgia.